How to File and Trim Split or Cracked Nails Safely
Quick Answer
To file and trim split or cracked nails safely, first check that the damage is limited to the free edge and isn’t painful or bleeding. Use clean, sharp nail clippers to remove only loose length beyond the fingertip, then smooth the edge with a fine-grit or glass nail file using gentle strokes in one direction. Never cut into a crack attached to the nail bed. Moisturize afterward and protect the nail from further snags.
Time Needed
5–10 minutes
Difficulty
Beginner
Items Needed
3–5 basic tools
Result
Smoother, protected edges
A cracked nail can turn an ordinary day into a frustrating experience. Every time your nail catches on your sweater, bedsheet, or hair, you worry the split might travel farther.
Fortunately, minor cracks near the free edge are often manageable with careful trimming and filing. The important part is knowing where you can safely cut and when you should leave the damaged nail alone.
This guide explains how to file and trim split or cracked nails safely, which tools to choose, what mistakes to avoid, and how to protect fragile nails as they grow.


Is It Safe to File or Trim a Cracked Nail?
Yes, but only when the crack is confined to the free edge of your nail and you can work without pain.
The free edge is the portion extending beyond your fingertip. Since it isn’t attached to the underlying skin, you can usually shorten or smooth this area without injuring the nail bed.
However, a crack extending into the pink, attached portion requires more caution.
- Small split at the tip: Gentle filing may remove the snag.
- Loose, unattached corner: Carefully trimming the projecting piece may help.
- Crack reaching the nail bed: Don’t cut through or pull apart the damaged area.
- Bleeding, swelling, or significant pain: Avoid cosmetic filing and seek appropriate medical care.
- Nail lifting away from the skin: Don’t force it back into place or attempt to remove attached sections.
Important Safety Warning
If your nail is bleeding, severely painful, partly torn from the nail bed, or discolored black or purple after an injury, do not treat it as a routine manicure problem. Seek medical evaluation. People with diabetes, poor circulation, or reduced sensation should be especially careful with nail injuries.
What Causes Nails to Split or Crack?
Understanding why your nails break helps you avoid repeating the same damage.
Repeated Water Exposure
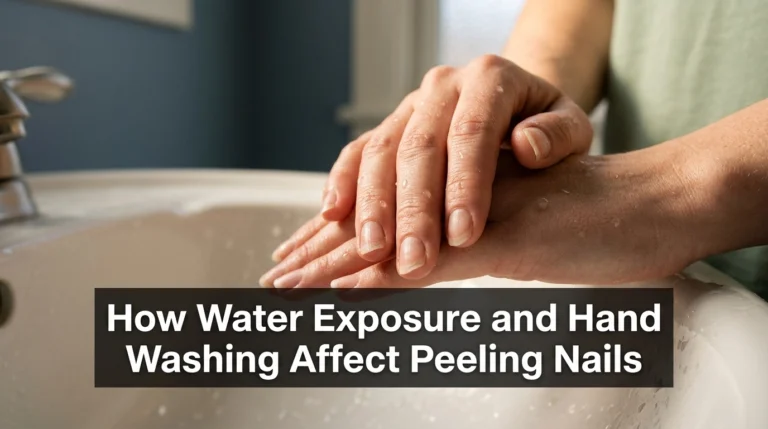
Frequent handwashing, dishwashing, and cleaning expose your nails to cycles of wetting and drying. Over time, this can contribute to brittle, peeling edges.
Aggressive Filing
Using a coarse file or applying heavy pressure can remove more nail material than necessary. Already thin nails are especially vulnerable.
Physical Trauma
Catching a long nail on clothing, opening containers with your nails, or accidentally hitting a hard surface can create a sudden crack.
Gel and Acrylic Removal
Peeling off enhancements or aggressively scraping away remaining product can remove layers of your natural nail.
Underlying Nail Conditions
Persistent splitting can sometimes be associated with skin conditions, infections, or other health problems. If several nails repeatedly split despite gentle care, ask a dermatologist to assess the cause.
For everyday prevention, see our guide to common nail health mistakes.
What Tools Do You Need to Trim a Split Nail Safely?
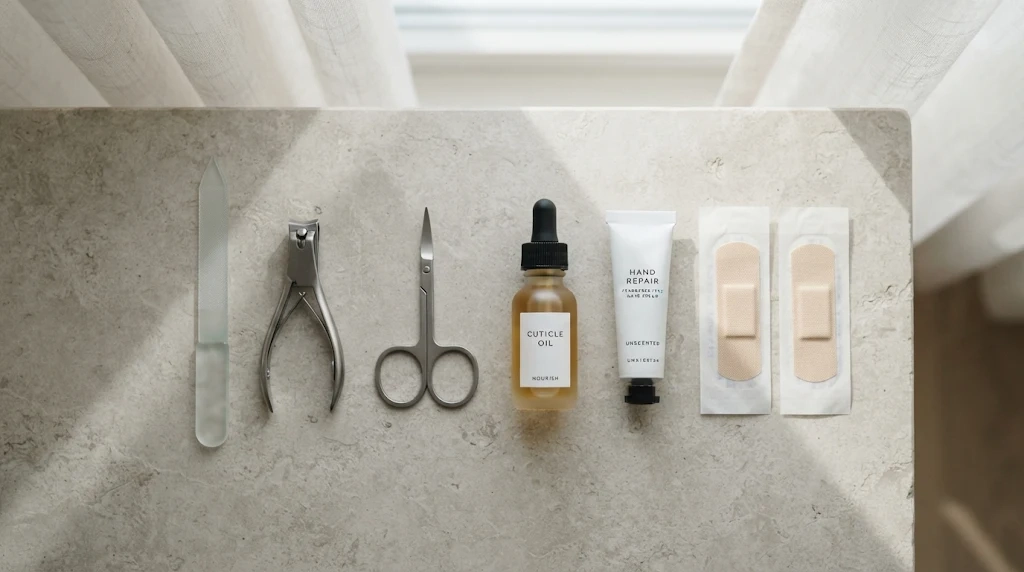
You don’t need an expensive manicure kit. A few clean, gentle tools are enough for minor free-edge damage.
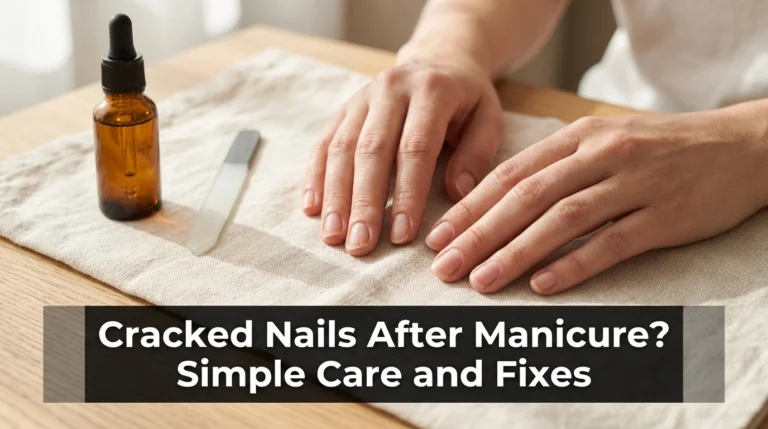
- Fine-grit nail file: Helps smooth small snags without aggressive abrasion.
- Glass nail file: Useful for controlled shaping and delicate edges.
- Sharp fingernail clippers: Suitable for removing excess free-edge length.
- Clean nail scissors: Optional for carefully trimming loose, unattached pieces.
- Hand cream or cuticle oil: Helps maintain moisture in the surrounding skin and nail.
- Protective bandage: Useful if an injured nail needs cushioning.
Choose a file that feels smooth and controlled rather than one that aggressively removes material. Avoid electric nail drills on cracked natural nails.
Recommended Tool
Fine-Grain Glass Nail File
A washable glass file provides controlled shaping for minor rough edges. Choose one with a smooth, consistent filing surface.
As an Amazon Associate, we earn from qualifying purchases.
How to File and Trim Split or Cracked Nails Safely: Step-by-Step

Follow these steps only for a minor, painless crack at the free edge. The goal isn’t to erase every sign of damage. It’s to remove snags while preserving as much healthy nail as possible.
Step 1: Examine the Crack Before Cutting
Wash your hands and examine the nail in good lighting. Identify where the split begins and whether it reaches the pink attached area. Check for tenderness, redness, swelling, or bleeding.
If the crack is painful or extends into attached tissue, stop. Don’t test the split by bending or pulling it apart.
Common mistake: Pulling the cracked section to see how deep it goes can extend the tear.
Step 2: Clean Your Hands and Nail Tools
Wash your hands with soap and water. Clean your nail tools and disinfect them according to the manufacturer’s instructions. Dry the tools completely before use.
For ordinary trimming, nails can be easier to clip after a shower or brief lukewarm soak. Avoid prolonged soaking of an injured nail.
Common mistake: Using dirty or dull clippers can create an uneven cut and introduce contamination near an injury.
Step 3: Shorten Only the Unattached Free Edge
If the nail extends well beyond your fingertip, make small, controlled cuts across the free edge. Leave a little length rather than clipping close to sensitive skin.
For a loose corner, remove only the part that is clearly unattached. If trimming makes the crack move or causes discomfort, stop immediately.
Common mistake: Trying to cut beneath the visible crack may injure attached tissue and worsen the split.
Step 4: File the Rough Edge in One Direction
Position your fine-grit file against the free edge. Use light, controlled strokes in one direction, lifting the file between passes.
Work gradually until the snag feels smooth. Avoid dragging the file repeatedly over the cracked surface or thinning the top of your nail.
Common mistake: Aggressive back-and-forth sawing may weaken an already fragile nail edge.
Step 5: Shape the Nail Into a Soft Curve
Keep the nail relatively short and gently soften sharp corners. A softly rounded or squoval shape can reduce the chance of the edge catching on fabric.
Don’t force every nail into an identical shape. Preserving healthy nail material matters more than achieving perfect symmetry.
Common mistake: Filing deeply into the sides can leave narrow, vulnerable edges.
Step 6: Moisturize and Protect the Nail
After filing, wash away loose nail dust and dry your hands. Apply hand cream to the nails and surrounding skin, then massage gently without bending the damaged edge.
If the nail remains vulnerable to catching, protect it with a light bandage. Keep adhesive on the surrounding skin rather than directly over an injured nail.
Common mistake: Applying hard coatings or nail glue to a painful, bleeding, or potentially infected crack can conceal a problem that needs treatment.
Pro Tip
After filing, lightly run the pad of another finger across the free edge. If it feels smooth and doesn’t catch, stop filing. More strokes won’t necessarily make the nail healthier.
Should You File or Clip a Split Nail First?
The best choice depends on the position and severity of the crack.
Choose Filing for a Small Rough Edge
If the nail is already short and only a tiny corner catches, gentle filing gives you more control than cutting. Use minimal pressure and stop as soon as the roughness disappears.
Choose Trimming for Excess Free-Edge Length
If your nail extends beyond the fingertip and the damaged area is completely unattached, carefully shortening the free edge can reduce leverage and accidental bending.
Choose Protection Instead of Cutting for a Deep Crack
When the crack travels into the pink nail bed, avoid trimming through it. Protect the area from snagging and arrange medical evaluation, particularly if the nail hurts or lifts.
Bottom line: File tiny snags, trim excess loose length, and leave attached painful damage alone.
What Should You Never Do to a Cracked Nail?
Some popular DIY nail repairs can make an injury worse when used on the wrong type of crack.
Do
- Use clean, sharp tools.
- Keep damaged edges short.
- File gently.
- Moisturize regularly.
- Wear gloves for wet chores.
- Protect injured nails.
Don’t
- Pull apart a split.
- Cut into attached nail tissue.
- Use an electric drill on damage.
- Buff away deep cracks.
- Glue a bleeding nail.
- Ignore persistent pain.
Be particularly cautious about internet tutorials that recommend nail glue, tea bags, acrylic overlays, or gel coatings for every crack.
Cosmetic reinforcement isn’t appropriate for open wounds, suspected infections, or injuries involving the nail bed. A coating may hide worsening symptoms and make later removal difficult.
How Long Does a Split Nail Take to Grow Out?
A quick filing session may smooth a snag in minutes, but it doesn’t fuse a crack back together.
Fingernails grow slowly, averaging approximately 3 millimeters per month, although growth varies by person and circumstance.
A small split close to the tip may be trimmed away relatively soon as the nail grows. Damage nearer the base can take several months to reach the free edge. A completely replaced fingernail may require around six months or longer.
During this time, your priorities are simple: prevent additional tearing, avoid repeated trauma, and maintain comfortable nail length.
If your nails remain thin and fragile, our article on strengthening weak, thin, and brittle nails provides additional everyday care ideas.
How Can You Prevent Your Nails From Splitting Again?
Keep Your Nails at a Practical Length
Very long nails have more opportunity to catch on objects. A shorter length may be more comfortable while damaged areas grow out.
Apply Moisturizer After Handwashing
Use hand cream regularly, especially after washing your hands. Keeping your nails and surrounding skin moisturized can reduce dryness associated with brittleness.
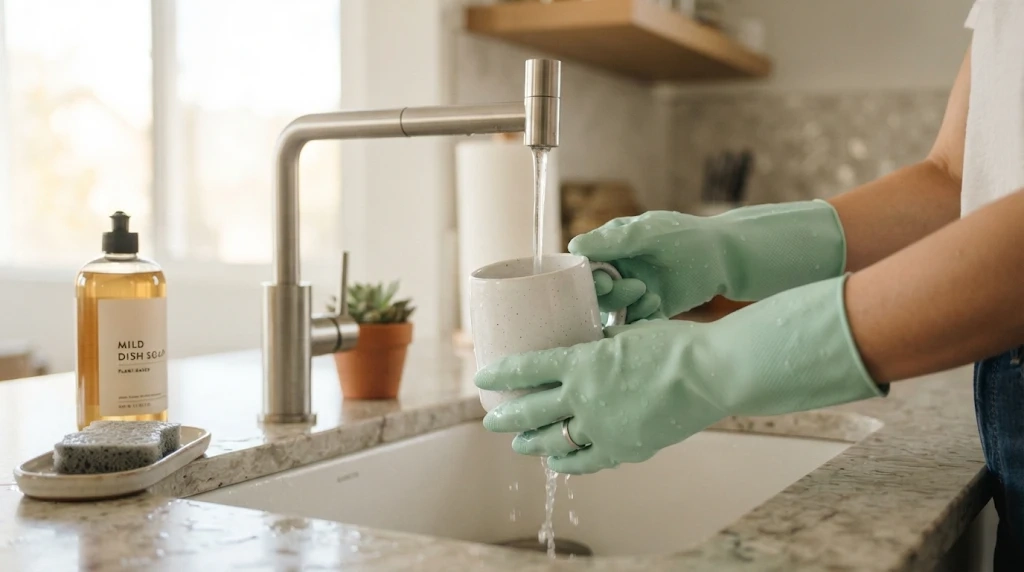
Wear Gloves While Cleaning
Use protective gloves when washing dishes or handling household cleaning products. This helps limit repeated water exposure and contact with irritating chemicals.
Avoid Using Nails as Tools
Don’t use your nail tips to scrape labels, open cans, or pry apart objects. These activities concentrate pressure on the free edge.
Be Gentle With Artificial Nail Removal
Never peel off gel or acrylic products. Follow appropriate removal instructions or visit a qualified nail professional when removal is difficult.
Check Your Nails Weekly
Look for minor snags before they become larger tears. Smooth only the rough areas and avoid excessive filing.
For a sustainable maintenance schedule, explore our simple nail care routine for healthy nails.
Which Nail Care Products Are Actually Helpful?
For most minor splits, gentle tools and moisturizers are more useful than a large collection of repair products.
Recommended Product
Precision Fingernail Clippers
Sharp, easy-to-control clippers help shorten excess free-edge length without repeated squeezing or twisting.
As an Amazon Associate, we earn from qualifying purchases.
Recommended Product
Fragrance-Free Hand Cream
A simple moisturizer helps maintain hydration around your nails and is useful after frequent handwashing.
As an Amazon Associate, we earn from qualifying purchases.
These products support routine nail maintenance, but they don’t replace medical treatment for an injured nail bed or an infection.
What If Your Cracked Nail Keeps Catching or Breaking?
Problem: The edge still catches on fabric
Check whether the snag is entirely within the free edge. If it is, make a few gentle strokes with a fine file. If the catch comes from a deeper crack, protect it rather than filing into the damaged area.
Problem: The crack spreads after trimming
Stop cutting immediately. Avoid pressure, protect the nail from further trauma, and seek professional assessment if the split reaches attached tissue or becomes painful.
Problem: Several nails keep peeling
Reduce repeated wet work, use moisturizer, and review manicure removal habits. Persistent peeling across multiple nails deserves a dermatologist’s assessment, especially when accompanied by changes in color or shape.
Problem: Filing causes sensitivity
Stop filing. Your nail may be too thin, or the damaged area may extend beyond the free edge. Don’t try to fix the sensitivity by buffing or adding another coating.
When Should You See a Dermatologist About a Cracked Nail?
Not every cracked nail is a cosmetic concern. Medical evaluation is important when you notice:
- Persistent or severe pain.
- Bleeding or a split reaching the attached nail bed.
- Significant nail lifting or partial detachment.
- Increasing swelling, warmth, redness, or pus.
- Black or purple discoloration after trauma.
- A deep crack that repeatedly reopens.
- Unexplained changes affecting several nails.
- Repeated splitting that doesn’t improve with gentle care.
Seek urgent assessment for severe injuries, major bleeding, or difficulty moving the affected finger or toe. If you have diabetes or poor circulation, seek medical advice promptly for nail injuries rather than attempting extensive home trimming.
For additional guidance, the American Academy of Dermatology provides information about caring for an injured nail.
Frequently Asked Questions About Filing Cracked Nails
Q: Can I file a nail that has a split down the middle?
A: Only file a small, painless rough area at the free edge. If the split runs into the attached nail or causes pain, don’t file through it. Protect the nail and seek medical advice.
Q: Is a glass nail file better for splitting nails?
A: A fine-textured glass file can provide gentle, controlled shaping. However, technique matters more than material. Use light pressure and avoid excessive filing.
Q: Should I cut a cracked nail as short as possible?
A: No. Shortening excess free-edge length may help, but cutting too close to the attached skin risks injury. Remove only what can be trimmed comfortably and safely.
Q: Can nail glue permanently repair a split nail?
A: No. Nail glue doesn’t restore the original nail structure. Avoid applying adhesives to wounds, painful cracks, or suspected infections, and let damaged areas grow out.
Q: Will a cracked nail heal on its own?
A: A split nail plate doesn’t fuse back together like skin. The damaged portion generally needs to grow forward until it can be safely trimmed away. Injuries involving the nail bed may need treatment.
Final Thoughts: Protect the Nail, Not Just the Manicure
Learning how to file and trim split or cracked nails safely starts with one rule: never sacrifice healthy, attached nail tissue to achieve a perfectly smooth manicure.
For minor free-edge damage, choose clean tools, trim conservatively, file gently, and protect the nail as it grows. If the crack is painful or deep, prioritize medical care over cosmetic repair.
Save this guide to your Pinterest nail care board so you’ll have the safe steps ready whenever a nail starts to split.

Hi, I’m Jessica, the creator behind Unique Lash & Nails Katy.
I created this website for anyone who loves beautiful nails as much as I do. Here, I share trendy nail designs, seasonal manicure ideas, easy nail care tips, honest product recommendations, and step-by-step guides to help you create salon-worthy nails at home. Whether you’re looking for everyday inspiration or your next favorite nail trend, I hope you’ll find something you love.