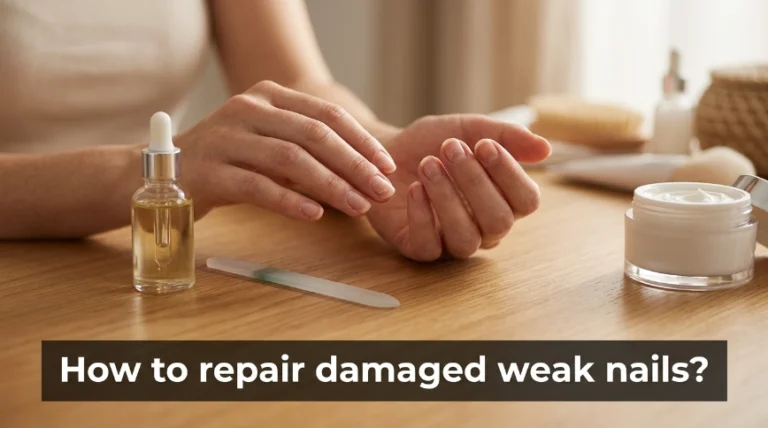
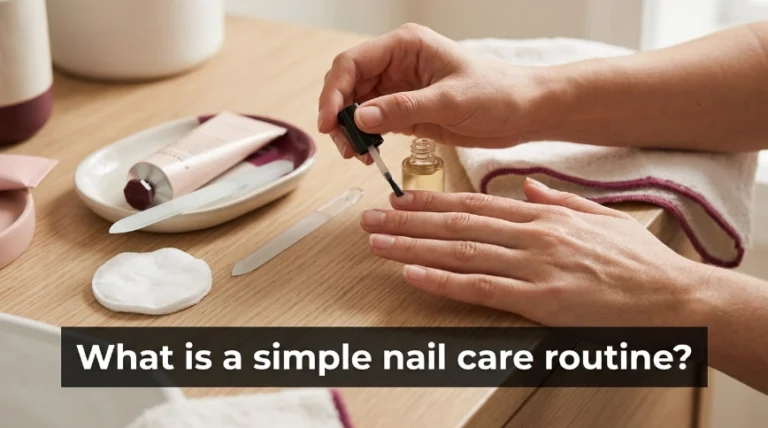
Simple Nail Care Routine for Healthy Strong Nails (Beginner-Friendly!)
Quick Answer
A simple nail care routine has six steps: clean your nails, file them into your preferred shape, push back your cuticles gently, apply cuticle oil, moisturize your hands, and finish with a base coat if you’re wearing polish. Do the full routine once a week, and apply cuticle oil every day. That combination alone will make a visible difference in four to six weeks.
Time needed
10–15 minutes weekly
Difficulty
Beginner
Items needed
5 basic tools
Results visible
In 4–6 weeks
Most nail routines feel overwhelming because they’re built for someone who has a lot of time and money. Yours doesn’t have to be. A truly simple nail care routine takes about ten minutes once a week, costs almost nothing to start, and builds the kind of healthy foundation that makes polish look better and last longer — with or without a salon visit.
This guide covers every step clearly, the tools you actually need, what to do daily versus weekly, and the habits that separate nails that break from nails that grow. Whether you’re starting from zero or just trying to be more consistent, here’s what works.


What Tools Do You Actually Need?
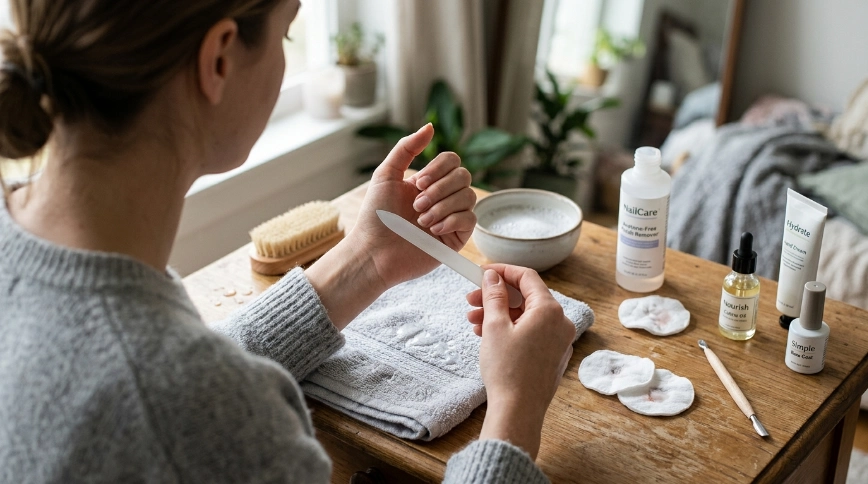
You don’t need a full nail kit. You need five things that do the real work, and everything else is optional until you’re ready.
- A glass or crystal nail file — metal files create micro-tears in the nail edge that lead to peeling and breakage. A glass file seals the edge as it files, so your nails stay stronger longer. It also lasts for years if you don’t drop it.
- A soft cuticle pusher — rubber-tipped or wooden, not metal. Metal tools used with any pressure can damage the nail matrix, which is the part responsible for growing new nail.
- Cuticle oil — this is the single most important product in any nail care routine. Oil penetrates the nail plate and the skin around it, improving flexibility so nails bend instead of snap. Apply it daily, not just during your weekly routine.
- A thick hand cream — your hands and nails lose moisture every time you wash your hands, use sanitizer, or do dishes. A cream with shea butter or urea replenishes that moisture before it causes brittleness.
- A clear base coat — if you wear polish at all, a base coat prevents staining and gives the polish something to grip, which is why skipping it cuts your manicure life in half.
Recommended Product
Glass Nail File — Gentle Filing for Stronger Nails
★★★★☆ Highly rated on Amazon
Unlike metal or emery board files, a glass file seals the nail edge as it shapes, preventing the peeling and breakage that most people blame on weak nails.
As an Amazon Associate, we earn from qualifying purchases.
Your Simple Nail Care Routine — Step by Step
 Save
SaveDo this full routine once a week. It takes ten to fifteen minutes. Pick a consistent day — Sunday evenings tend to work well because your nails are clean and you have a few hours before they’ll be submerged in water again.
1
Remove Old Polish Completely
Use an acetone-free nail polish remover if your nails are already dry or brittle. Pure acetone removes polish faster but strips oils from the nail plate, making brittle nails worse with repeated use. Saturate a cotton pad, press it flat against each nail for five seconds, then wipe in one direction instead of scrubbing back and forth.
Common mistake: Scrubbing back and forth with the cotton pad instead of wiping in a single direction — this pushes product under the free edge and leaves residue that interferes with your next coat of polish.
2
Soak and Gently Clean Your Nails
Fill a small bowl with warm water and a few drops of gentle dish soap. Soak your fingertips for two to three minutes — this softens the cuticles so you can work with them without forcing. Use a soft nail brush to clean under the free edge of each nail, then rinse and pat dry. Don’t skip drying — wet nails are softer and more prone to tearing when filed.
Common mistake: Soaking too long. More than five minutes over-softens the nail, making it temporarily flexible and easy to tear during filing.
3
File Into Your Preferred Shape
Hold your glass file at a slight angle under the nail edge and file in one direction only — side to center on both sides. Never saw back and forth. Keep your strokes smooth and light rather than applying pressure. If you’re growing your nails out and want to protect them, a rounded square (squoval) shape is the most durable because it removes the sharp corners that catch on things and break. For more guidance on maintaining length, see our guide on how to keep natural nails long and strong.
Common mistake: Filing damp nails right after soaking. Wait a minute or two for your nails to dry fully — filing wet nails causes splitting at the free edge.
4
Push Back — Never Cut — Your Cuticles
After soaking, your cuticles are soft enough to push back easily. Apply a drop of cuticle remover gel or simply use the moisture left from soaking. Use your rubber or wooden pusher to gently slide the cuticle toward the base of the nail, using small circular motions. Don’t push hard — if it hurts at all, you’re using too much pressure. Cutting cuticles creates open wounds that invite bacteria, and it causes the skin to grow back thicker and faster. Pushing is always safer.
Common mistake: Cutting or tearing the cuticle instead of pushing. This removes the protective seal that keeps bacteria out of the nail root.
5
Apply Cuticle Oil and Massage In
Apply one drop of cuticle oil to each nail, directly onto the cuticle and nail bed. Use your thumb to massage it in using circular motions for about ten seconds per nail. This isn’t just about moisturizing — massaging the nail bed improves circulation, which speeds up nail growth. Jojoba oil is one of the best options because its molecular structure is closest to your skin’s natural sebum, meaning it absorbs deeply rather than sitting on the surface. This is also the step you should repeat every single day, even when you’re not doing the full routine. For more on how much oil to use and when, check out whether you can oil your nails too much.
Common mistake: Applying cuticle oil over a freshly painted top coat and expecting it to penetrate. Oil absorbs through bare skin and the cuticle edge — put it on before you apply polish, or right before bed when you’re not painting.
6
Moisturize Your Hands and Apply Base Coat
Massage a generous amount of hand cream into your hands and fingers, working it around each nail. Let it absorb for two to three minutes before touching anything. If you’re applying polish, wipe each nail plate with a dry cotton pad to remove any oily residue — polish won’t stick to oily nails. Then apply one thin coat of base coat and let it dry fully before your color. If you’re going polish-free, a buffed, moisturized nail with a single coat of clear base coat looks clean and polished without any color at all.
Common mistake: Skipping the base coat to save time. Base coat is what prevents your nails from staining yellow, and it’s what gives polish something to bond to — without it, you’ll get chipping within a day or two.
Recommended Product
Jojoba Cuticle Oil Pen — Daily Use Made Easy
★★★★☆ Highly rated on Amazon
A twist-up cuticle oil pen makes daily application quick enough to do at your desk or before bed — so you’ll actually do it every day instead of forgetting.
As an Amazon Associate, we earn from qualifying purchases.
How Often Should You Do Each Step?
The most common mistake with nail routines is trying to do everything every day, then burning out and doing nothing. Here’s the honest schedule that actually works:
- Daily: Cuticle oil. Thirty seconds, any time. Before bed is ideal because your hands aren’t being washed or exposed to drying products for hours afterward.
- After every handwash: Hand cream. Keep a small tube next to your sink so it’s a habit, not a decision.
- Weekly: The full six-step routine above. File, push cuticles, apply oil, moisturize, base coat.
- Every 2–3 weeks: Refresh your polish or give your nails a 48-hour break between manicures to let the nail plate breathe and rehydrate.
For a more detailed daily breakdown, the guide on how to take care of nails daily covers exactly what to do each morning and evening without it feeling like a chore.
The Nail Care Do’s and Don’ts That Make the Biggest Difference
Do
- +Wear rubber gloves when washing dishes — dish soap is one of the fastest ways to strip nails of moisture and cause peeling.
- +File only in one direction to keep the nail edge sealed and prevent micro-tears that cause splitting later.
- +Apply hand cream immediately after washing your hands while your skin is still slightly damp — it seals in the remaining moisture instead of just sitting on dry skin.
- +Keep nails at a manageable length if they keep breaking — shorter nails are far less likely to snap, and you can always grow them once the nail plate is stronger.
Don’t
- −Use your nails as tools to open packaging, scratch off stickers, or pry things open — one hard snap undoes weeks of growth.
- −Pick or peel your nail polish off — it takes a layer of actual nail plate with it every time, leaving the nail thin, dull, and rough.
- −Cut your cuticles — they protect the nail root from bacteria, and cutting them causes them to grow back thicker and more ragged over time.
- −Skip the base coat to save time — this is the one step that determines whether your manicure lasts two days or seven.
Pro Tips That Actually Change Your Results
Pro Tip
Keep a small bottle of cuticle oil on your nightstand. Apply it to your cuticles and nail beds right before you turn off the light — your hands aren’t being washed or exposed to anything for eight hours, so absorption is at its maximum. This single habit creates more change than any other product switch.
Pro Tip
If your nails always peel in layers, the issue isn’t the product you’re using — it’s that your nails are dehydrated. Start applying a thin layer of Vaseline or a healing ointment like Aquaphor over your cuticles and nails before bed, in addition to your oil. The occlusive layer traps moisture inside the nail plate overnight and stops the peeling within one to two weeks.
Pro Tip
After filing, run the pads of your fingers over the nail edge rather than looking at it. Your fingertips can feel micro-roughness or uneven edges that your eyes miss — and a smooth edge means the nail is far less likely to snag and break. One more gentle pass with your glass file fixes it in seconds.
If your nails are currently thin, damaged, or peeling rather than just lacking routine, the guide on how to repair damaged, weak nails walks through the recovery process specifically.
The Best Products to Add Once You Have the Basics Down
Once you’re consistent with the six-step routine, two products take things to the next level without adding much time or cost.
Recommended Product
Nail Strengthener Base Coat — For Thin or Peeling Nails
★★★★☆ Highly rated on Amazon
A strengthener base coat works double duty — it primes the nail for color while adding a hardening layer that reduces peeling and breakage, especially during the first month of building a new routine.
As an Amazon Associate, we earn from qualifying purchases.
For a broader look at which products genuinely help versus which ones are just marketing, the breakdown of the healthiest things to put on your nails is worth reading before you invest in anything new.
What to Do When Your Routine Isn’t Working
 Save
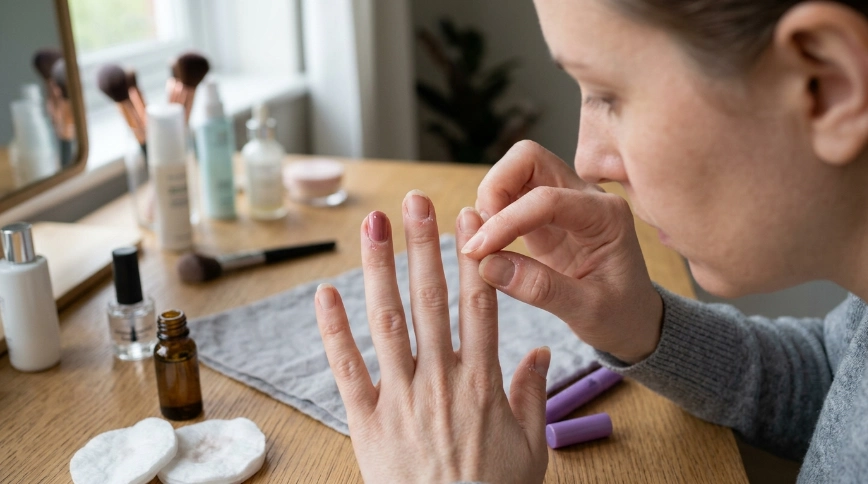
SaveYour nails are still breaking even with consistent care
Check your diet and water intake first — nails are made of keratin protein, and if you’re not eating enough protein or healthy fats, no topical product can fully compensate. Next, check your nail length — nails that extend past the fingertip are more likely to catch and snap. File them shorter, add a strengthening base coat, and give it six full weeks before expecting visible change. Nails grow about 3mm per month, so the improvement you make today shows up in about a month at the cuticle line and works its way up the nail over time.
Your polish chips within one or two days
Chipping within 48 hours is almost always a prep problem, not a polish problem. Either there was oil or hand cream on the nail when you applied base coat, or you skipped capping the free edge — running the brush along the very tip of the nail before finishing each coat creates a seal that significantly extends wear. Wipe nails with a dry cotton pad before applying base coat, cap the edge, and you’ll see at least double the wear time.
Your cuticles keep tearing and look ragged
Ragged cuticles are almost always a sign of chronic dryness, not something that needs cutting. Increase your cuticle oil to twice daily — once in the morning and once before bed — for two weeks. Don’t pick at any hangnails; instead, clip them cleanly with a sharp cuticle nipper at their base. The daily oil application breaks the cycle within two to three weeks.
Frequently Asked Questions About Nail Care Routines
Q: How long before I see results from a nail care routine?
A: Most people notice their cuticles looking healthier and nails feeling less brittle within two to three weeks of consistent oiling and moisturizing. Actual nail strength and length improvements take four to six weeks because that’s how long it takes the nail plate to visibly grow out from the cuticle. Consistency matters more than any single product.
Q: Can I have a nail care routine if I wear acrylics or gel?
A: Yes — and it’s even more important if you do. Acrylics and gel can dehydrate the nail plate over time, so applying cuticle oil daily to the skin around the enhancement and moisturizing your hands after every wash protects the natural nail underneath. When you get infills, ask your tech to lightly buff rather than aggressively file the existing product before applying new product.
Q: Do nails need to breathe between manicures?
A: Nails don’t “breathe” through the nail plate the way skin does — they get their oxygen from the bloodstream, not the air. But giving your nails 24 to 48 hours bare between manicures allows them to rehydrate fully, especially if you’ve been wearing gel or dark polish. It’s not mandatory, but it’s a useful reset if your nails feel dry or look dull.
Q: Is Vaseline actually good for nails?
A: Vaseline doesn’t add moisture on its own, but it seals in moisture that’s already there — which makes it very effective when applied over damp skin or after cuticle oil. Apply a small amount over your cuticles and nails before bed and it creates an occlusive barrier that prevents overnight moisture loss. It’s especially helpful for peeling nails and dry cuticles.
Q: What’s the minimum I can do and still see improvement?
A: If you can only do one thing consistently, make it cuticle oil every night before bed. It’s the highest-impact, lowest-effort habit in any nail care routine. Add hand cream after handwashing as your second habit. Those two alone, done daily, will visibly improve your nail and skin health within three to four weeks.
Start Simple and Build From There
The best nail care routine is the one you’ll actually do. Start with the daily cuticle oil and weekly six-step routine, keep it consistent for a month, and you’ll have a strong enough foundation to add anything else you want from there — strengtheners, nail art, longer lengths, or gel at home.
Healthy nails aren’t about expensive products or salon visits. They’re about hydration, gentle handling, and a routine that fits into your real life. Give it six weeks, and the difference will speak for itself.
Found this helpful? Save it to your nail care board on Pinterest so you can come back to it anytime.

Hi, I’m Jessica, the creator behind Unique Lash & Nails Katy.
I created this website for anyone who loves beautiful nails as much as I do. Here, I share trendy nail designs, seasonal manicure ideas, easy nail care tips, honest product recommendations, and step-by-step guides to help you create salon-worthy nails at home. Whether you’re looking for everyday inspiration or your next favorite nail trend, I hope you’ll find something you love.