How to File and Trim Peeling Nails Safely: Easy Steps
Quick Answer
To file and trim peeling nails safely, use clean, sharp nail clippers to shorten only the free edge, then smooth the tips with a fine-grit or glass file. File gently in one direction, working from each side toward the center. Never pull away peeling layers or buff the nail surface to remove them. Finish with moisturizing hand cream or cuticle oil to protect your fragile nails while the damaged areas grow out.
Time Needed
10-15 minutes
Difficulty
Beginner
Items Needed
4 basic essentials
Result Lasts
Until the next snag or trim
Peeling nails can make even a simple manicure feel risky. One rough edge catches on your sweater, and suddenly you’re worried that trimming it will make the damage worse.
Fortunately, you can manage minor peeling without aggressively cutting or filing your natural nails. The secret is to remove only unnecessary length, smooth the free edge, and leave the delicate nail surface alone.
Here’s how to file and trim peeling nails safely, which tools to choose, and what to do afterward so your nails have a better chance of growing without additional splitting.


Is It Safe to File and Trim Nails That Are Already Peeling?
Yes. Gentle filing and careful trimming are usually appropriate when peeling affects only the free edge of an otherwise healthy nail.
Your nail plate contains layers of keratin. When these layers begin separating, you may notice thin flakes, rough edges, or splits near the tips. This type of layered splitting is often called onychoschizia.
Keeping the tips short can reduce their tendency to catch on clothing, hair, or other objects. However, filing cannot permanently repair layers that have already separated.
The goal is simple: reduce additional damage while healthier nail grows forward.
Warning
Do not cut, peel, or file into the pink, attached part of your nail. Stop home trimming if you notice bleeding, significant pain, swelling, pus, or a nail separating from its nail bed. These symptoms need medical assessment rather than cosmetic filing.
What Tools Do You Need to File Peeling Nails?
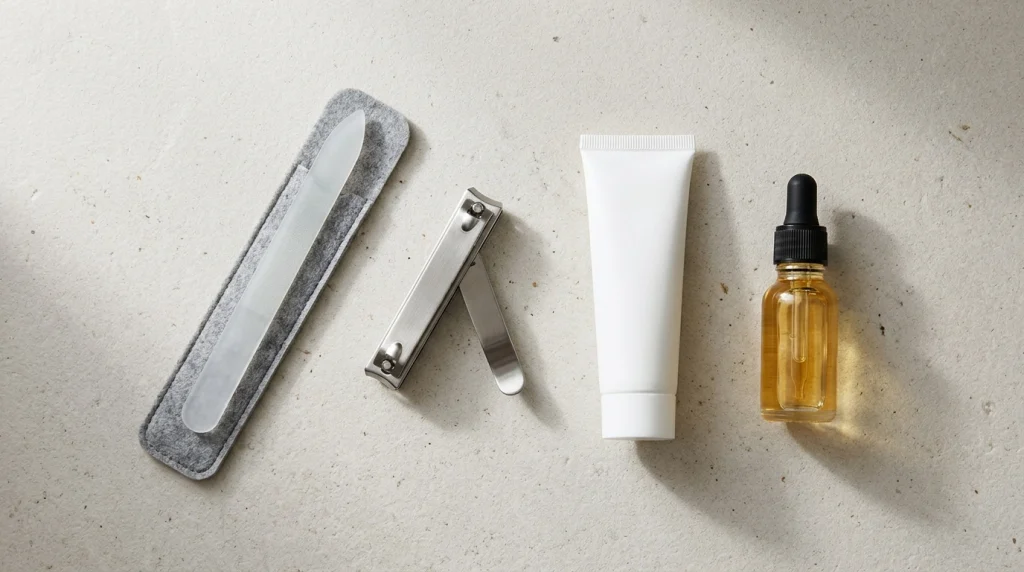
You don’t need an expensive manicure kit. A few gentle, clean tools are usually enough to manage fragile nail tips.
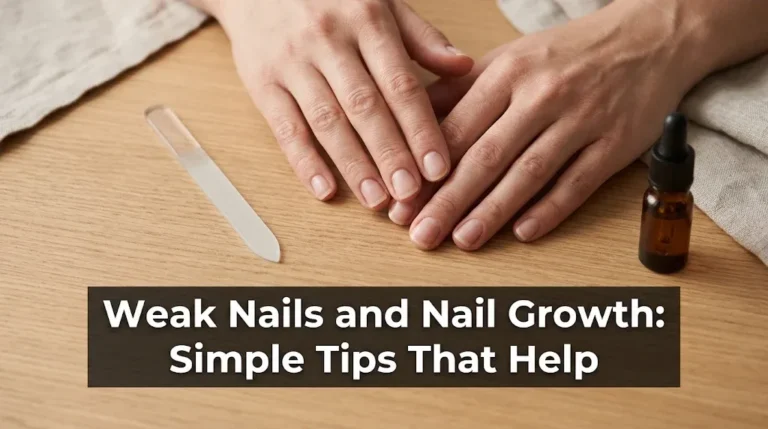
- Fine-grit glass nail file: Helps you smooth rough free edges with controlled, light strokes.
- Sharp nail clippers: Remove excess length without repeatedly bending the nail.
- Fragrance-free hand cream: Moisturizes the nail plate and surrounding skin after grooming.
- Cuticle oil: An optional finishing product for dry nails and cuticles.
A glass file is a useful choice because its fine abrasive surface allows you to make small adjustments without aggressively sanding your nails. Choose a file designed for natural nails rather than a coarse tool intended for artificial enhancements.
If you need a beginner-friendly option, browse these glass nail files for natural nails.
Make sure your clippers are clean and their cutting edges are aligned. Dull or damaged clippers can crush or bend fragile tips instead of cutting them cleanly.
Affiliate disclosure: As an Amazon Associate, we earn from qualifying purchases.
How to File and Trim Peeling Nails Safely: Step by Step
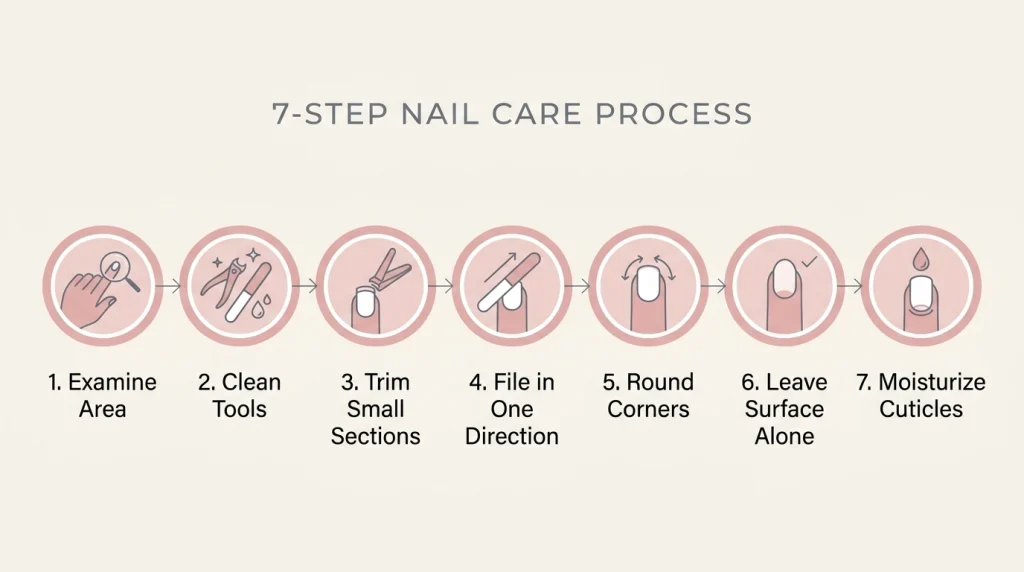
Follow these seven steps when peeling is limited to the free edge and your nails aren’t painful or visibly infected.
Step 1: Examine Your Nails Before Cutting
1 Examine the Peeling Area
Look carefully at each nail under good lighting. Identify whether the peeling is limited to the white free edge or extends into the pink attached area.
Only trim a small amount of the free edge. If a split continues into attached nail tissue, don’t try to cut it away yourself.
Common mistake: Treating every visible peel like a loose piece that needs removal. Some layers remain attached and should not be pulled.
Step 2: Clean Your Hands and Nail Tools
2 Clean and Prepare Your Nails
Wash your hands with mild soap and lukewarm water. Clean your nail tools according to their manufacturer’s instructions, then make sure they’re dry and ready to use.
If your nails are very hard, trimming shortly after a shower can make cutting easier. Avoid prolonged soaking because frequent water exposure can contribute to nail splitting.
Common mistake: Soaking already-fragile nails for an unnecessarily long time before filing.
Step 3: Trim Small Sections of the Free Edge
3 Shorten the Nail Gently
Position clean, sharp clippers across a small section of the free edge. Make controlled cuts rather than forcing one large cut across the entire nail.
Leave a small amount of white free edge and keep the overall shape nearly straight across. You’ll soften the corners with your file afterward.
Common mistake: Cutting too close to attached tissue or clipping through a deep split. Both can cause pain and worsen the injury.
Step 4: File Each Nail in One Direction
4 Smooth the Free Edge
Hold your glass file against the free edge and move it gently from one side toward the center. Lift the file before repeating the movement.
Switch sides and repeat. Keep the pressure light and stop as soon as the rough edge feels smooth.
Common mistake: Rapidly sawing back and forth with a coarse file. Aggressive filing can worsen weakness at an already-damaged edge.
Step 5: Round the Corners Slightly
5 Create a Soft Nail Shape
Use a few light strokes to soften sharp corners. A short, softly rounded or squoval shape is practical because it has fewer protruding points that can catch on fabrics.
Don’t force your nails into a dramatic almond or stiletto shape when their tips are already thin.
Common mistake: Filing deeply into the sides to create a narrow shape, unnecessarily removing supportive nail material.
Step 6: Leave the Peeling Surface Alone
6 Avoid Buffing or Peeling
Inspect the nail surface after shaping, but resist the urge to make every peeling layer disappear. Do not scrape, lift, or buff away the damaged surface.
Removing more nail material can leave your nails thinner and more sensitive. Your goal is a smooth free edge, not a perfectly polished nail plate.
Common mistake: Buffing until all visible flakes disappear. A temporary smooth appearance isn’t worth removing healthy nail layers.
Step 7: Moisturize Your Nails and Cuticles
7 Apply Moisturizing Aftercare
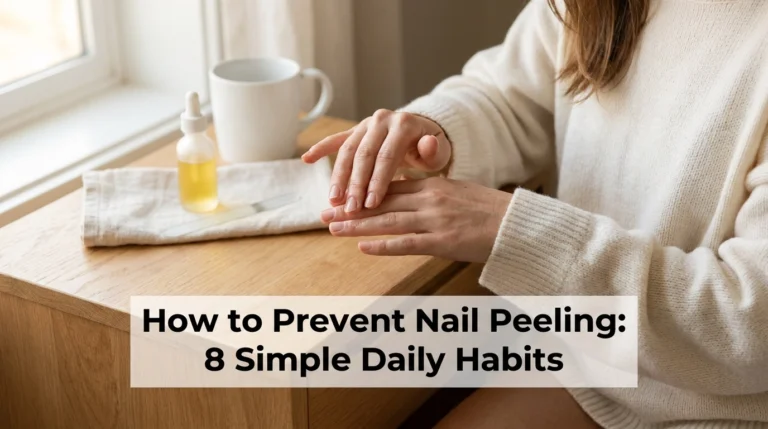
Massage a small amount of fragrance-free hand cream over your fingertips, nails, and surrounding skin. You can add cuticle oil if the skin around your nails feels particularly dry.
Repeat moisturizing after handwashing and before bedtime. Consistent care helps limit dryness while the damaged nail grows out.
Common mistake: Applying moisturizer once after a manicure but ignoring dryness during everyday handwashing and cleaning.
Why Do Nails Peel After Filing or Trimming?
Peeling doesn’t always mean you used the wrong nail file. Several everyday habits can weaken the nail plate before you even begin grooming.
Repeated Water Exposure
Frequent wetting and drying can contribute to brittle, layered nails. Washing dishes, cleaning without gloves, and repeated soaking may make existing peeling more noticeable.
Excessive Filing or Buffing
Aggressive filing can remove too much material from your nail tips. Buffing the upper surface is particularly unhelpful when your nails are already thin.
Gel, Dip, or Acrylic Removal
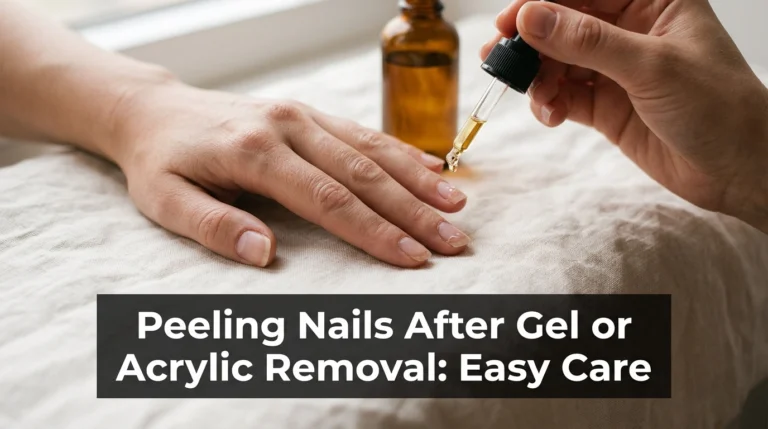
Peeling off attached enhancements can pull natural nail layers away with the product. Aggressive removal techniques may leave your nails rough, flexible, and vulnerable to splitting.
Dryness and Chemical Exposure
Frequent polish remover use, detergents, and some cleaning products may contribute to dryness or irritation. This is particularly relevant when your nails are exposed to several of these factors each week.
For a broader explanation of the causes and prevention strategies, see our guide on how to prevent nail peeling.
Should You File Peeling Nails Wet or Dry?
For routine shaping, it’s generally easier to control a fine file when your nail edges are clean and dry. You can see the layers more clearly and avoid accidentally removing too much material.
Trimming is slightly different. The American Academy of Dermatology recommends clipping nails after bathing or briefly softening them with lukewarm water when needed.
A practical approach is to soften unusually hard nails briefly for clipping, dry them, and then file the free edges gently.
Don’t repeatedly soak peeling nails simply because you want them to feel softer. Excessive water exposure is one of the habits that can contribute to brittle nails.
What Should You Avoid When Trimming Peeling Nails?
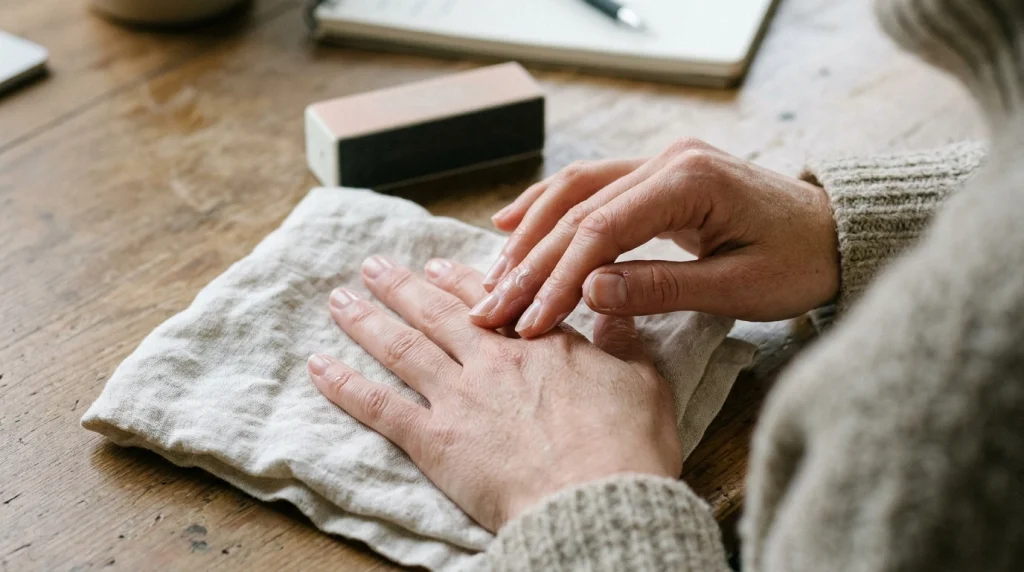
Do
- Use sharp, clean clippers.
- Keep fragile tips short.
- File in gentle, one-way strokes.
- Moisturize after grooming.
- Wear gloves for wet chores.
Don’t
- Pull away peeling layers.
- Buff thin nail surfaces.
- Cut into attached nail tissue.
- Use coarse files aggressively.
- Cover suspicious changes with enhancements.
The biggest mistake is trying to make peeling nails look flawless immediately. Removing more nail material can make them weaker, even when the surface initially appears smoother.
You can find more habits worth avoiding in our article on common nail health mistakes.
How Often Should You Trim and File Peeling Nails?
There isn’t one perfect filing schedule for everyone. Your nail growth, work habits, and the severity of peeling all influence how often grooming is necessary.
Check your nails every few days for rough edges. If a small snag appears, smooth it gently rather than waiting for it to catch and tear.
Trim when the free edges become long enough to catch, bend excessively, or interfere with daily activities. Many people can manage with a trim every week or two, but your needs may differ.
Repeated filing when your tips are already smooth isn’t helpful. Each unnecessary stroke removes a little more material.
Remember that grooming improves the shape immediately, but it doesn’t reverse peeling already present in the nail plate. Visible damage must grow out gradually, which can take several months.
How Can You Protect Peeling Nails After Filing?
Your everyday habits matter just as much as your filing technique. A careful manicure won’t help much if the tips repeatedly catch on objects or spend hours exposed to detergents.
Moisturize After Washing
Keep a small hand cream near your sink or bedside. Products containing glycerin or petrolatum are practical options for maintaining skin moisture.
For extra convenience, a fragrance-free moisturizing hand cream can fit into your daily routine.
Wear Protective Gloves
Use suitable gloves while washing dishes or handling household cleaning products. This limits unnecessary contact with water and detergents.
Choose gloves compatible with the products you’re using and follow the cleaning product’s safety instructions.
Take a Break From Damaging Manicures
If peeling began after repeated gel, dip, or acrylic removal, consider leaving your nails free of enhancements while the damaged portions grow out.
Avoid removing attached polish by scraping or picking, even when the coating begins lifting at one corner.
Maintain a Short, Comfortable Length
Short natural nails experience less leverage when they bump into objects. This makes them a practical choice during a period of peeling.
For a manageable routine between manicures, follow these daily nail care habits.
Pro Tip
Keep a small glass nail file in a protective case inside your bag. When you notice a harmless snag at the free edge, smooth it before it catches on clothing. This helps you avoid the temptation to pull at it.
What Should You Do if Your Nail Keeps Peeling?
Sometimes a nail continues peeling despite careful trimming. The right response depends on where the damage appears and what caused it.
Problem: The free edge keeps splitting
Immediate fix: Shorten the free edge slightly and gently smooth any sharp corners. Prevention: Keep the nail at a manageable length and protect it from repeated impacts.
Problem: Nails feel very thin after gel removal
Immediate fix: Stop buffing and keep the nails short. Prevention: Avoid peeling off future enhancements and use gentle, appropriate removal methods.
Problem: Peeling returns after washing dishes
Immediate fix: Dry your hands gently and apply moisturizing cream. Prevention: Use appropriate protective gloves during repeated wet work.
Problem: Peeling continues across several nails
Immediate fix: Reduce unnecessary filing and review recent nail products or chemical exposure. Prevention: Maintain gentle care and consult a healthcare professional if the changes persist without an obvious explanation.
If your nails have significant damage from previous manicures, our guide to repairing a damaged nail at home explains which minor problems are suitable for home care.
When Should You See a Dermatologist About Peeling Nails?
Minor peeling at the free edge is often manageable with gentle care. However, persistent or unusual changes deserve professional attention.
Arrange a medical assessment if you notice:
- Peeling or splitting that repeatedly worsens despite protective care.
- Pain, bleeding, swelling, or pus around a nail.
- A nail lifting away from its underlying nail bed.
- Unexplained dark discoloration or a new dark streak.
- Unusual thickening, crumbling, or significant color changes.
- Sudden, unexplained changes affecting multiple nails.
Some persistent nail problems may be associated with skin conditions, infections, or underlying health issues. A dermatologist can help identify the cause instead of relying on trial-and-error manicures.
If you have diabetes, poor circulation, or reduced sensation in your fingers, seek professional advice about nail problems rather than attempting to manage an injured nail yourself.
Frequently Asked Questions About Filing Peeling Nails
Q: Can filing make peeling nails worse?
A: Yes. Aggressive filing, coarse abrasives, and repeated buffing can remove additional nail material. Use a fine file, apply light pressure, and focus only on smoothing the free edge.
Q: Is a glass nail file better for peeling nails?
A: A fine glass nail file is a useful option for controlled, gentle shaping. However, technique matters more than material. Even a glass file can cause problems if you use excessive pressure.
Q: Should I cut off peeling nail layers?
A: Don’t pull or cut attached peeling layers from the nail surface. You may carefully shorten the free edge with clean clippers, but avoid trimming into sensitive or attached nail tissue.
Q: How long does it take for peeling nails to recover?
A: Your tips may feel smoother immediately after filing, but damaged nail layers must grow out. Fingernails generally take several months to replace, depending on individual growth and the location of the damage.
Q: Can I wear nail polish while my nails are peeling?
A: Ordinary polish may be an option for mildly peeling nails without other symptoms, but frequent removal can add stress. Consider a manicure break if peeling follows repeated treatments, and don’t conceal painful or suspicious nail changes.
Final Thoughts: Keep Peeling Nails Short, Smooth, and Protected
Learning how to file and trim peeling nails safely comes down to a few gentle habits: use clean tools, shorten only the free edge, file with light one-direction strokes, and never pull away attached layers.
Keep your nails moisturized and protected while the damaged portions grow out. You don’t need perfect nails overnight; you need a routine that avoids unnecessary damage.
Save this guide to your Pinterest nail-care board so you’ll have these gentle trimming steps ready whenever your nails need a little extra care.

Hi, I’m Jessica, the creator behind Unique Lash & Nails Katy.
I created this website for anyone who loves beautiful nails as much as I do. Here, I share trendy nail designs, seasonal manicure ideas, easy nail care tips, honest product recommendations, and step-by-step guides to help you create salon-worthy nails at home. Whether you’re looking for everyday inspiration or your next favorite nail trend, I hope you’ll find something you love.