How to Strengthen Nails After Acrylics: Easy Recovery Tips
Quick Answer
To strengthen nails after acrylics, keep them short, smooth rough edges gently, moisturize your nails and cuticles after washing, and wear gloves for wet chores. Skip acrylics, gel overlays, and aggressive buffing while the damaged layers grow out. You may feel less dryness within days, but replacing a damaged fingernail usually takes around four to six months or longer.
If your acrylics are finally off and your natural nails feel paper-thin, bendy, or flaky, you probably want them strong again yesterday. The good news is that simple habits can protect the nail you have and help healthier new growth survive. Here’s a realistic recovery plan that doesn’t depend on miracle serums, constant manicures, or buying a dozen products.


Why Are Your Nails So Weak After Acrylics?
Acrylic nails can look perfectly smooth while the natural nail underneath is taking a beating. To make acrylic adhere, a technician usually roughens the surface of your nail plate. Repeated filing removes some of its protective keratin layers, so the nail left behind may feel thinner and more flexible than it used to.
Removal can add another round of stress. Acetone dissolves product but also dries the nail and nearby skin. Scraping off stubborn residue, prying up acrylic, or peeling a lifting extension can take parts of the natural nail with it. Even a carefully removed set may reveal dryness that was hidden under the enhancement.
You might notice peeling at the tips, uneven white patches, surface grooves, or nails that bend during everyday tasks. These aren’t all signs of permanent damage. Your visible nail plate is made of nonliving keratin, though, so a thinned section cannot rebuild itself in place; it needs to grow forward and eventually be trimmed away.
If your nails were fragile even before acrylics, explore common causes of weak nails too. Repeated wet work, skin conditions, and some medical issues can contribute alongside manicure damage.
What Actually Helps Strengthen Nails After Acrylics?
Think of recovery as two jobs: preventing more breakage now and protecting the new nail growing from its base. The following methods work together, but you can start with the ones that address your biggest problem.
1. Keep Your Nails Short Until the Weak Tips Grow Out
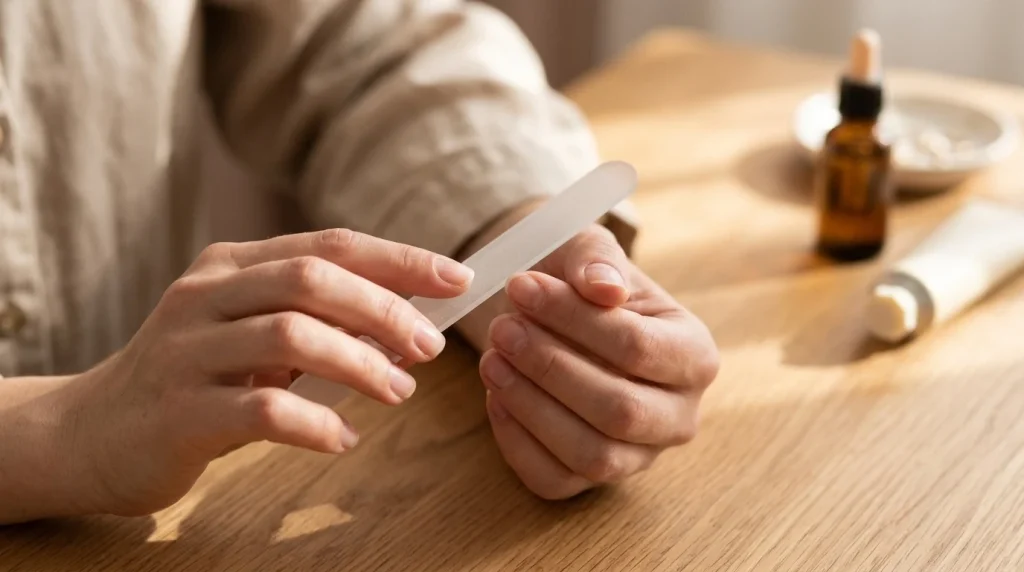
Best for: Nails that bend, snag on clothes, or split at the free edge. A short, softly rounded shape gives fragile nails less leverage to catch and tear. Use clean, sharp clippers to take off excess length, then smooth any sharp corners with a fine-grit file.
File the edge with controlled, gentle strokes and stop when it feels smooth. You don’t need to buff the top surface or remove every visible ridge. The main advantage is immediate protection from accidental breaks; the trade-off is giving up extra length for a while. If a nail is painfully split into the attached area, don’t try to clip through the split yourself.
2. Moisturize the Nail Plate and Cuticles Every Day
Best for: Dry, chalky, peeling nails and tight skin around the cuticles. Massage a drop of jojoba-based cuticle oil or a little plain petroleum jelly across each nail and around the nail folds. Follow with a fragrance-free hand cream, especially after washing and before bed.
Moisture can make dry nails feel more flexible and help reduce the roughness that catches on fabric. It cannot permanently reattach separated layers or thicken a nail that has been overfiled. The upside is that this habit is inexpensive and easy to repeat; the downside is that one application won’t last through an entire day of handwashing.
Keep a small moisturizer beside your sink or nightstand. Using it consistently is more useful than soaking your nails in oil once a week and forgetting about them the rest of the time.
3. Protect Your Hands From Water and Cleaning Products
Best for: Nails that peel more after dishwashing, laundry, or cleaning. Nails absorb water, expand, and contract as they dry. Repeating this cycle can make already weakened layers separate more easily, especially when detergents strip oils from the surrounding skin.
Wear waterproof household gloves for dishes and cleaning; a cotton lining can make longer sessions more comfortable. Take the gloves off when you’re done, dry your hands, and apply cream. Protection is highly effective against avoidable stress, although remembering gloves for a quick chore can take practice.
Short showers and normal handwashing are fine. You’re not trying to keep nails completely away from water; you’re reducing unnecessary long soaking and harsh chemical exposure.
4. Take a Break From Acrylics and Other Heavy Enhancements
Best for: Nails that feel tender, thin, or noticeably different after repeated acrylic sets. Covering them with another enhancement may hide peeling, but application and removal can repeat the same filing and chemical exposure that caused the problem.
Start with a few weeks without acrylics, dip, hard gel, or glue-on extensions, then reassess how the nails look and feel. A cosmetic break doesn’t instantly heal damage, and severely thinned nails may need many months of growth before they look normal. Its biggest advantage is avoiding another damage cycle while the vulnerable portion moves toward the tip.
For perspective on leaving nails bare, see whether nails are healthier without nail polish. Regular polish is not automatically harmful, but removal and frequent product changes can add unnecessary stress.
5. Consider a Gentle Protective Coat, Not an Extra-Hard Shell
Best for: Intact, mildly fragile nails that need a temporary barrier from friction. If you prefer a polished look, a thin layer of ordinary, formaldehyde-free clear polish or a flexible nail treatment may help reduce snagging. Follow its label instructions and remove it gently rather than picking it off.
A coating protects the surface; it doesn’t repair missing keratin or force the nail to grow faster. Strong hardeners can make some nails so rigid that they snap instead of flexing. Skip polish or strengtheners on painful, lifting, inflamed, or possibly infected nails until a clinician has assessed them.
If your nails tolerate bare care comfortably, you can skip the coating altogether. Oil, a cream, short tips, and careful handling are still the foundation of recovery.
How Long Does It Take for Nails to Recover After Acrylics?
Recovery has two timelines: how quickly your nails feel better and how long it takes for damaged nail to be replaced. Dry surrounding skin may improve after several days of regular moisturizer, while peeling and thin patches need new growth to replace the damaged plate.
- First week: You may notice fewer snags and less tightness if you trim, moisturize, and stop picking at your nails.
- Two to four weeks: A small band of newer nail may become noticeable near the base. The older damaged tip may still peel.
- Six to eight weeks: With less trauma, you may retain more healthy growth and have fewer breaks, although severe damage can still be visible.
- Four to six months or longer: Much of a fingernail may have grown out. Full replacement commonly takes around six months and varies from person to person.
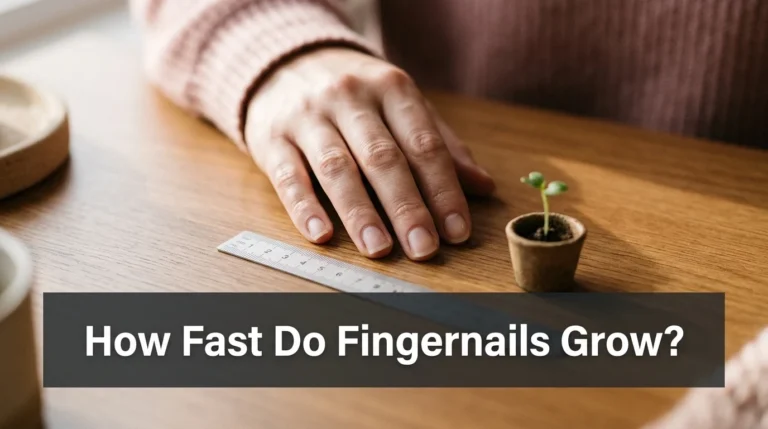
Fingernails average roughly three millimeters of growth per month, which is why no serum can give you a brand-new nail in seven days. For a more detailed timeline, see how fast fingernails grow. Photograph your bare nails once a month in similar lighting; daily checks make gradual improvement hard to recognize.
What Daily Routine Helps Your Nails Recover?
You don’t need an elaborate ritual. A repeatable morning, evening, and weekly routine is easier on fragile nails than constantly switching between treatments.
In the Morning: Prevent New Damage
After washing your hands, pat them dry and massage a small amount of fragrance-free cream over the nails and surrounding skin. Check for sharp corners before you get dressed; a rough nail catching in knitwear can turn a tiny peel into a major split. Keep cleaning gloves where you’ll actually reach for them.
During the Day: Reapply Moisture After Wet Work
Use hand cream after frequent washing, especially if your skin feels tight. Reach for the pads of your fingers rather than your nail tips when opening cans, peeling labels, or tapping on hard surfaces. If a nail begins catching, smooth only the free edge with a fine file instead of tearing the loose layer off.
At Night: Condition Without Overworking
Massage cuticle oil across each nail and seal dry skin with cream or a small dab of petroleum jelly. Leave your cuticles intact: they form a protective seal where nail and skin meet. If you’re tempted to pick at peeling tips, spend a minute tidying your file and moisturizer station instead.
Once a Week: Review and Shape
Remove only the length that’s putting pressure on fragile tips, then inspect your nails in natural light. Watch for new growth near the base, surface lifting, unusual color, or irritated skin. Keep the routine simple enough to follow long term; this beginner-friendly nail care routine offers more ideas for ongoing maintenance once the worst peeling has passed.
What Should You Do and Avoid While Nails Grow Back?
Do
- Keep tips short and smooth.
- Moisturize after handwashing.
- Wear gloves for wet chores.
- Watch healthy growth near the base.
Don’t
- Peel or pry off remaining acrylic.
- Buff away thin surface layers.
- Cut or aggressively push cuticles.
- Hide painful or discolored nails.
Which Nail-Care Products Are Actually Worth Buying?
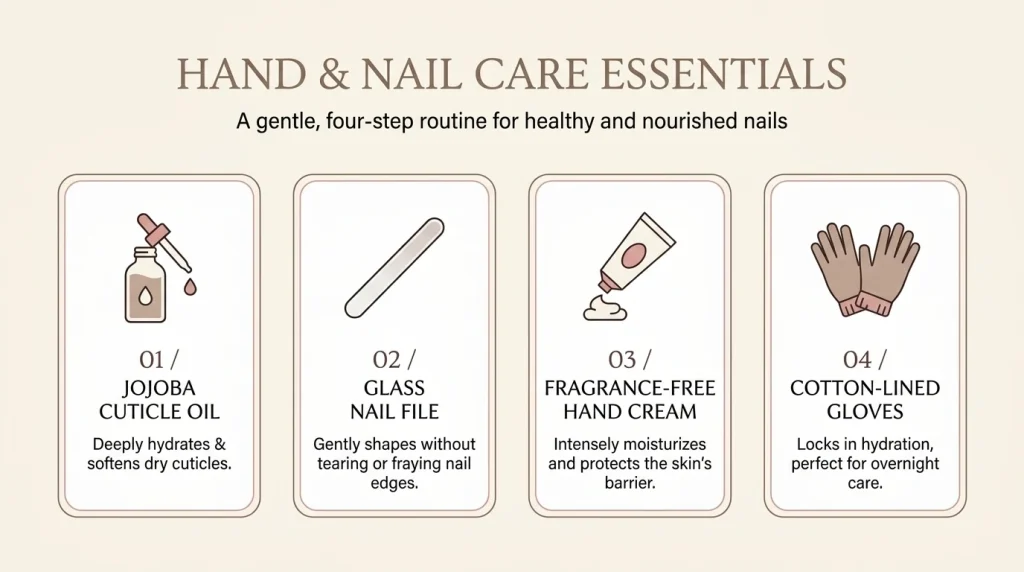
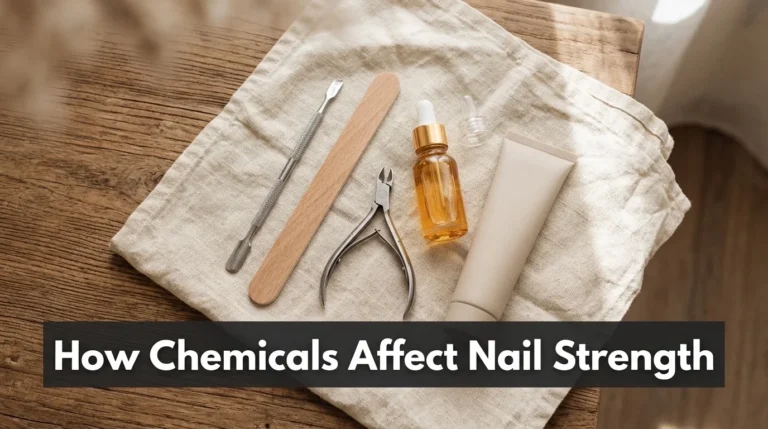
Start with basic tools that reduce dryness or breakage. None of these products makes a damaged nail regenerate overnight, and you don’t have to buy every item if you already own something similar.
Recommended Product
Jojoba-Based Cuticle Oil
A simple oil is useful for making dry nail surfaces and cuticle skin feel less rough between handwashing sessions.
As an Amazon Associate, we earn from qualifying purchases.
Recommended Product
Fine-Grit Glass Nail File
A smooth, fine file helps you tidy the free edge without scraping the already-thin top surface.
As an Amazon Associate, we earn from qualifying purchases.
Recommended Product
Fragrance-Free Hand Cream
An everyday cream can support your skin barrier and makes it practical to moisturize after every wash.
As an Amazon Associate, we earn from qualifying purchases.
Recommended Product
Reusable Cotton-Lined Cleaning Gloves
These help limit the repeated water and detergent exposure that makes peeling nails harder to protect.
As an Amazon Associate, we earn from qualifying purchases.
What Small Changes Make Nail Recovery Easier?
Pro Tip: Protect the Two Nails That Break First
If your thumbs or index fingers always split, shorten those a little more than the rest. They’re often used as tools without you noticing, so reducing their free-edge length can prevent repeat snags.
Pro Tip: Skip the Surface Buffer
A shiny finish is tempting, but buffing removes more material from nails that may already be too thin. Take progress photos instead of trying to polish away every ridge.
Pro Tip: Use Your New Growth as a Progress Marker
Look at the narrow strip nearest the cuticle, not just the ragged tip. If that area looks healthier over time, your routine may be protecting new growth even though the old damage is still visible.
Pro Tip: Keep Nutrition Sensible
Aim for regular meals with protein and varied nutrient sources rather than buying high-dose nail gummies. Supplements won’t undo filing damage, and large doses of biotin can interfere with some medical blood tests.
When Are Damaged Nails More Than a Cosmetic Problem?
Warning
Get medical advice if you develop increasing pain, swelling, warmth, pus, a green or dark discoloration, or a nail lifting away from the nail bed. These changes can signal injury, infection, or an allergic reaction rather than ordinary post-acrylic dryness. Don’t cover them with polish or glue.
If you still have acrylic firmly attached, don’t pry it loose. Have a qualified nail professional remove it with an appropriate method; if the natural nail is injured, painful, or separating, ask a healthcare professional what removal is safest. Persistent brittleness across several nails can also have causes unrelated to acrylics, so ask a dermatologist if your nails aren’t improving or new changes appear.
A healthy, balanced diet supports nail growth, but more biotin is not automatically better. For a practical food-first approach, see which vitamins matter for nail health before deciding whether any supplement is necessary.
Frequently Asked Questions About Nails After Acrylics
Q: Can you strengthen nails after acrylics overnight?
A: You can protect them overnight by trimming snags and moisturizing, but you can’t restore missing nail layers in one night. Real improvement depends on preventing breakage while healthy nail grows forward.
Q: Is cuticle oil enough to repair acrylic damage?
A: Oil helps reduce dryness and improve flexibility, but it cannot replace keratin that was filed away. Pair it with short nails, gentle handling, and protection from water and harsh cleaners.
Q: Should you put gel polish on thin nails after acrylics?
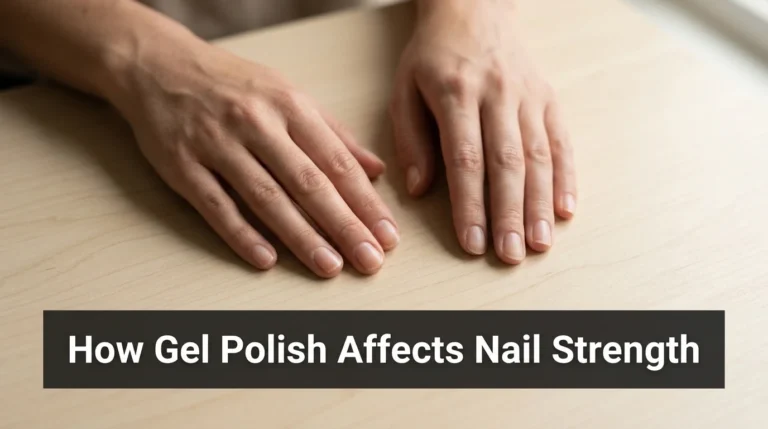
A: It’s better to avoid another enhancement cycle while nails are thin, painful, or peeling. Gel application and removal can create more stress, especially when product is filed or peeled off.
Q: Do nails need to breathe after acrylic removal?
A: No. The visible nail plate does not breathe. A break helps because it reduces additional filing, adhesives, and remover exposure while you observe and protect the new growth.
Q: When can you get acrylic nails again?
A: Wait until your natural nails are comfortable, intact, and no longer noticeably fragile. That may take months if the plate was severely thinned. Avoid reapplication if there’s lifting, infection, or a suspected allergy.
Ready to Give Your Natural Nails a Fresh Start?
Learning how to strengthen nails after acrylics comes down to protecting what you have while healthier nail grows in: keep tips short, moisturize often, and avoid another harsh removal cycle. Save this guide to your Pinterest nail-care board so you can return to the routine whenever your nails need extra care.

Hi, I’m Jessica, the creator behind Unique Lash & Nails Katy.
I created this website for anyone who loves beautiful nails as much as I do. Here, I share trendy nail designs, seasonal manicure ideas, easy nail care tips, honest product recommendations, and step-by-step guides to help you create salon-worthy nails at home. Whether you’re looking for everyday inspiration or your next favorite nail trend, I hope you’ll find something you love.