Nail Hygiene Before a Manicure: 7 Easy Prep Steps
Quick Answer
Good nail hygiene before a manicure means washing your hands, gently cleaning beneath your nails, using properly cleaned tools, and keeping your cuticles intact. Remove old polish, check for signs of infection, shape your nails carefully, and dry them completely before applying products. These simple steps help reduce contamination and avoid unnecessary nail damage.
Time Needed
10–15 minutes
Difficulty
Beginner
Items Needed
5–7 basic supplies
Result
Clean, prepared nails
A beautiful manicure should begin with clean, comfortable, healthy-looking nails—not just your favorite polish color.
Whether you’re creating Pinterest-inspired nail art at home or visiting your favorite salon, proper preparation helps protect your natural nails and surrounding skin.
The good news? You don’t need expensive equipment or an elaborate beauty routine. Here’s how to prepare your nails safely, recognize hygiene mistakes, and start your next manicure with confidence.


Why Is Nail Hygiene Important Before a Manicure?
Your fingernails can collect dirt, oils, and microorganisms throughout the day. Some debris hides underneath the free edge, while residue from lotion, old polish, and daily activities can remain on the nail surface.
According to the Centers for Disease Control and Prevention (CDC), keeping nails clean and properly maintained is an important part of everyday personal hygiene.
Preparing your nails before a manicure serves several purposes:
- Reduces contamination: Cleaning removes visible dirt and helps reduce germs that may be present around your nails.
- Protects surrounding skin: Gentle preparation avoids creating small cuts that can become entry points for microorganisms.
- Improves polish application: Removing oils and residue allows regular nail polish to adhere more evenly.
- Reveals potential problems: Bare, clean nails make unusual discoloration, lifting, or irritation easier to notice.
- Creates a smoother finish: Carefully shaped edges and a clean nail surface help your finished manicure look more polished.
Good nail hygiene doesn’t mean aggressively scrubbing, cutting, or removing every bit of skin around your nails. In fact, overdoing those steps can cause more harm than good.
For a broader everyday routine, explore our guide on building a healthy nail care routine.
What Do You Need to Clean Your Nails Before a Manicure?
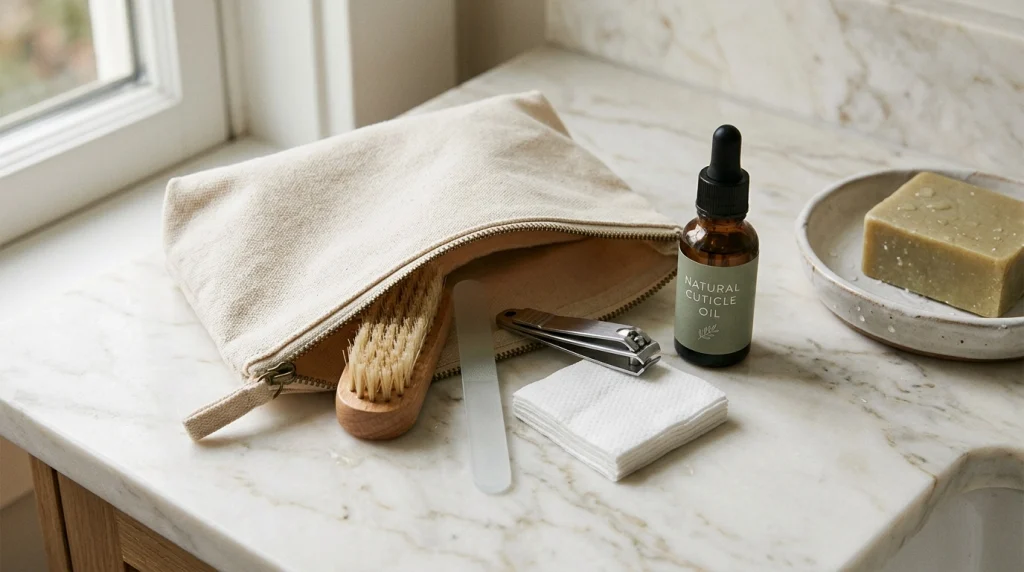
You probably already own most of the supplies needed for basic manicure hygiene. Keep your tools together in a clean, dry pouch or container so they’re easy to find.
- Mild hand soap: Removes ordinary dirt and residue without requiring harsh cleaning ingredients.
- Clean soft nail brush: Helps remove debris from beneath the visible nail tips.
- Nail clippers: Shorten nails that have grown beyond your preferred length.
- Fine-grit or glass nail file: Smooths uneven edges without excessive scraping.
- Clean lint-free wipes: Remove polish residue and help prepare the nail surface.
- Nail polish remover: Removes your previous manicure before inspection.
- Hand cream or cuticle oil: Moisturizes the skin surrounding your nails after cleaning.
Choose personal grooming supplies whenever possible. Shared nail files, brushes, and other tools may require different cleaning, disinfection, or disposal procedures depending on their material.
If you’re assembling a small manicure kit, a soft nail cleaning brush is a useful addition because it lets you remove visible debris without digging beneath your nails with sharp objects.
Affiliate disclosure: As an Amazon Associate, we earn from qualifying purchases.
What Should You Check Before Starting Your Manicure?
Before you reach for nail polish, take a moment to inspect your nails and the surrounding skin.
Your nails should feel comfortable, and the surrounding skin shouldn’t have unexplained swelling, increasing redness, pus, or open wounds.
WARNING
Postpone your manicure if you notice painful swelling, pus, an open wound, or suspected nail infection. Applying gel, acrylic, or polish over a concerning nail change can hide the problem and delay appropriate care. Seek medical advice for persistent or worsening symptoms.
Check for these warning signs:
- Redness or swelling around the nail folds
- Pain, tenderness, or unusual warmth
- Greenish or unexpected nail discoloration
- Nail lifting or separation from the nail bed
- Broken skin, bleeding, or drainage
- New or unexplained changes in nail thickness or shape
Not every nail discoloration means infection. However, unusual changes deserve attention rather than being automatically covered with another manicure.
How Do You Practice Nail Hygiene Before a Manicure?
Follow these seven practical preparation steps before applying regular nail polish or beginning a salon service.
Step 1: Wash Your Hands Thoroughly
Start by washing your hands with soap and running water for at least 20 seconds. Clean your palms, fingertips, between your fingers, and around your nails.
Rinse thoroughly and dry with a clean towel. This removes ordinary dirt and helps reduce the transfer of germs to your manicure tools.
Common mistake: Using hand sanitizer on visibly dirty hands instead of washing them. Soap and water are the better choice when dirt or residue is present.
Step 2: Remove Your Previous Nail Polish
Use an appropriate nail polish remover and a clean cotton pad or lint-free wipe. Hold the saturated pad against the nail briefly before wiping to reduce unnecessary rubbing.
If you’re wearing gel, dip powder, or acrylic enhancements, follow the specific removal instructions for that product. Don’t peel or pry them away.
Common mistake: Scraping off stubborn polish with metal tools. This can damage the natural nail surface and create rough patches.
Step 3: Gently Clean Underneath Your Nails
Wet a clean, soft nail brush and gently brush along the visible underside of each nail tip using soap and water.
If dirt is difficult to remove, allow it to soften with warm water rather than applying more force. Rinse away loosened debris and avoid pushing the brush deeply beneath the nail.
Common mistake: Digging under the nail with a sharp cuticle tool. This can injure the delicate attachment between your nail and fingertip.
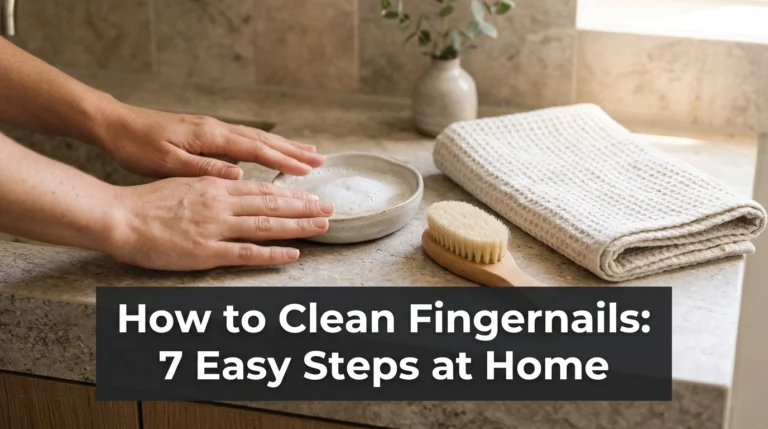
For more detailed cleaning methods, see our seven-step guide to cleaning nails at home.
Step 4: Trim and Shape Your Nails Carefully
Use clean, sharp clippers to shorten nails only when needed. Trim your fingernails nearly straight across, then soften the corners with a fine nail file.
File gently in one direction to smooth snags. Keep enough free edge to avoid cutting painfully close to your fingertip.
Common mistake: Aggressively filing back and forth or cutting nails extremely short. This can encourage splitting, tenderness, and uneven edges.
A glass nail file for natural nails is a convenient option for gently smoothing rough tips.
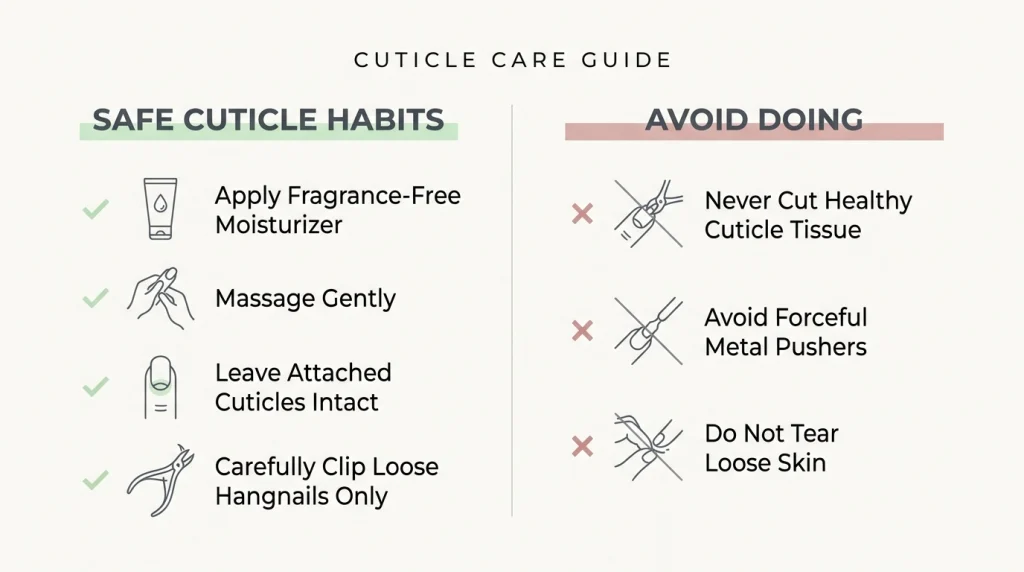
Step 5: Protect Your Cuticles Instead of Cutting Them
Your cuticles help seal and protect the area where your nails grow. Keeping them intact is more important than creating an extremely exposed nail base.
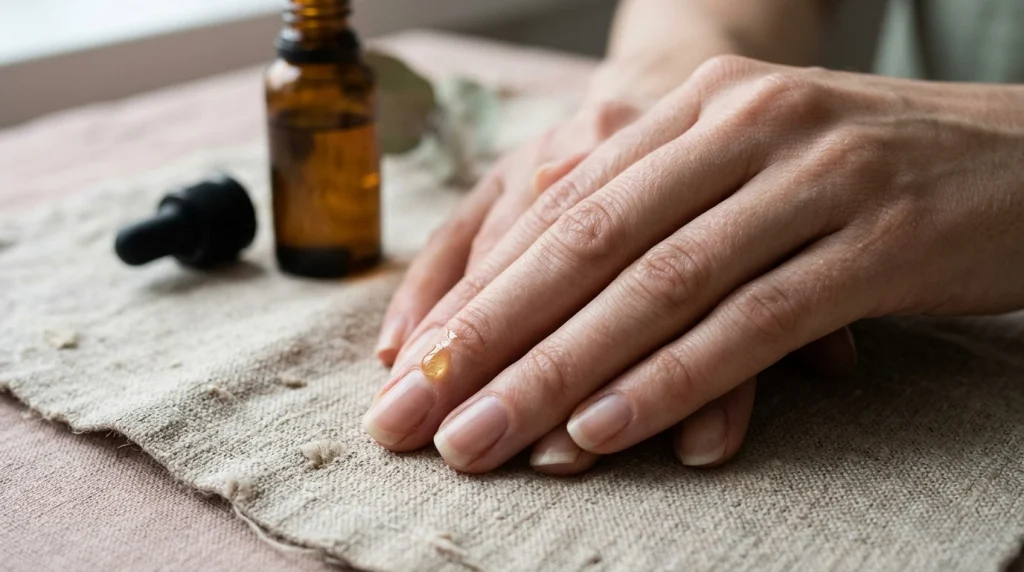
If the surrounding skin is dry, apply a little moisturizer or cuticle oil. Avoid cutting healthy cuticles or forcefully pushing them backward.
Common mistake: Removing living skin to achieve a perfectly clean manicure outline. This can cause irritation and increase infection risk.
When you notice a hangnail, trim only the loose piece with a clean tool instead of pulling it off.
Step 6: Make Sure Your Manicure Tools Are Hygienic
Inspect your clippers, files, and reusable tools before using them. Remove debris, follow the manufacturer’s cleaning instructions, and ensure reusable equipment receives the appropriate disinfection.
At a salon, shared reusable implements must be processed according to applicable professional infection-control requirements. Porous single-use items should be replaced rather than passed between clients.
Common mistake: Assuming that wiping a used tool with a dry towel makes it sanitary. Visible cleanliness alone doesn’t establish proper disinfection.
PRO TIP
Keep a separate personal manicure kit and label it clearly. Replace disposable nail files when necessary, clean reusable tools according to their instructions, and store everything completely dry.
Step 7: Dry and Prepare Your Nails for Polish
After washing, dry your hands and nails thoroughly. Pay attention to moisture near the nail folds and fingertips.
Before applying regular polish, make sure the nail plate is free from oily residue. Apply a thin base coat, followed by your chosen color once the base is ready.
Use moisturizing products after your manicure or earlier in your preparation routine, rather than leaving a heavy oily layer directly beneath your polish.
Common mistake: Applying polish immediately over wet or oily nails. Residual moisture and oils can interfere with an even application and may contribute to premature lifting or chipping.
How Can You Tell Whether a Nail Salon Is Hygienic?
Professional manicure hygiene should be visible throughout your appointment—not something you have to assume is happening behind the scenes.
Before your service begins, look at the workstation and watch how your technician prepares the equipment.
- Clean work surfaces: The manicure table should be free from leftover nail dust, used cotton pads, and previous customers’ debris.
- Proper hand hygiene: Your technician should clean their hands between clients and follow appropriate hygiene procedures.
- Processed reusable tools: Metal clippers and other reusable equipment should be properly cleaned and disinfected or sterilized as applicable.
- Fresh disposable supplies: Single-use files, buffers, and similar items should not be reused between clients.
- No aggressive cuticle cutting: Your technician shouldn’t unnecessarily cut living tissue or cause bleeding.
- Clear safety practices: Staff should be willing to explain how their tools are cleaned and how used supplies are handled.
Pay attention to how your technician reacts when you ask questions. A reputable salon should be able to explain its sanitation procedures without making you uncomfortable.
If you notice obviously dirty equipment, reused disposable tools, or poor hand hygiene, consider choosing another salon.
Should You Disinfect Your Nails Before Applying Polish?
For an ordinary manicure on healthy, intact hands, washing with soap and water and using hygienic equipment are important starting points.
You don’t need to repeatedly soak your nails in alcohol, bleach, or other harsh household chemicals to make them safe for polishing.
Cleaning and disinfecting are also different processes. Cleaning removes visible dirt and residue, while disinfection involves using an appropriate product according to its instructions to reduce specified microorganisms on suitable surfaces.
Some professional nail systems require a dedicated nail cleanser or preparation product. Follow the product manufacturer’s directions rather than applying random disinfectants directly to your skin.
Remember that hand sanitizer doesn’t replace washing when your hands are visibly dirty. Likewise, a cosmetic nail dehydrator isn’t a substitute for cleaning shared manicure tools.
What Nail Hygiene Mistakes Should You Avoid?
Many manicure problems begin with overpreparation. Healthy nails don’t need to be scrubbed aggressively or stripped down before every application.
DO
- Wash hands before nail preparation.
- Clean beneath nails gently.
- Use properly cleaned tools.
- Keep cuticles intact.
- Dry nails before applying polish.
- Inspect nails for unusual changes.
DON’T
- Share dirty nail equipment.
- Scrape beneath nails with sharp tools.
- Cut healthy cuticles aggressively.
- Peel off gel or acrylic enhancements.
- Polish over unexplained infections.
- Overbuff natural nail surfaces.
One especially common mistake is buffing the natural nail until it looks thin and extremely smooth. Buffing removes some material from the nail plate, and excessive repetition can make already fragile nails more vulnerable to damage.
If your nails frequently become weak after salon appointments, review our article on protecting your nails from everyday damage.
How Often Should You Clean and Maintain Your Nails?
Not every part of manicure preparation needs to happen daily. The simplest approach is to separate everyday hygiene from occasional grooming.
Every Day
Wash your hands regularly, include the visible undersides of your nails, and dry thoroughly. Apply moisturizer when your hands or nail folds feel dry.
Every Week
Check your nail length, smooth any rough tips, and inspect your nail tools. Trim only when needed instead of following a rigid daily cutting schedule.
Before Every Manicure
Remove the previous coating safely, inspect your natural nails, clean and dry your hands, and confirm that your tools are ready for use.
After Every Manicure
Clean reusable tools according to their instructions, discard disposable supplies, and store your equipment dry. Continue moisturizing your skin and nail folds between appointments.
If you want a practical long-term schedule, our nail care frequency guide explains how to balance daily habits and occasional maintenance.
What Should You Do If Something Goes Wrong During Nail Preparation?
Even careful preparation can reveal unexpected problems. The safest response depends on what you notice.
Problem: Your nails still have dirt underneath.
Wash again and use a soft brush near the visible free edge. Avoid digging deeply. For next time, keep your nails at a manageable length and clean accumulated debris during routine handwashing.
Problem: Your cuticles feel dry or rough.
Apply fragrance-free moisturizer or a small amount of cuticle oil. Don’t cut away healthy skin to remove the rough appearance. Moisturize consistently to reduce recurring dryness.
Problem: Your nail surface looks thin or damaged.
Avoid additional buffing or aggressive filing. Keep the nail comfortably short and protect it while the damaged section grows out. Seek professional advice if you experience pain or significant lifting.
Problem: You accidentally cut the skin around a nail.
Stop the manicure. Wash the area gently, apply light pressure with clean gauze if it is bleeding, and protect the wound. Don’t apply manicure products over broken skin. Get medical advice if bleeding persists or infection signs develop.
What Are the Best Ways to Keep Nails Hygienic Between Manicures?
Your manicure hygiene routine becomes easier when your everyday habits support it. Consistent, gentle care usually matters more than buying complicated nail treatments.
Keep Your Nails at a Practical Length
Very long nails can collect more debris underneath than shorter nails. You don’t have to give up long manicures, but maintaining clean tips becomes especially important.
Moisturize After Frequent Handwashing
Repeated washing can leave your skin feeling dry. Apply a suitable hand cream after drying your hands to help maintain the skin barrier.
A fragrance-free hand cream is a practical option if your hands frequently feel tight or rough after washing.
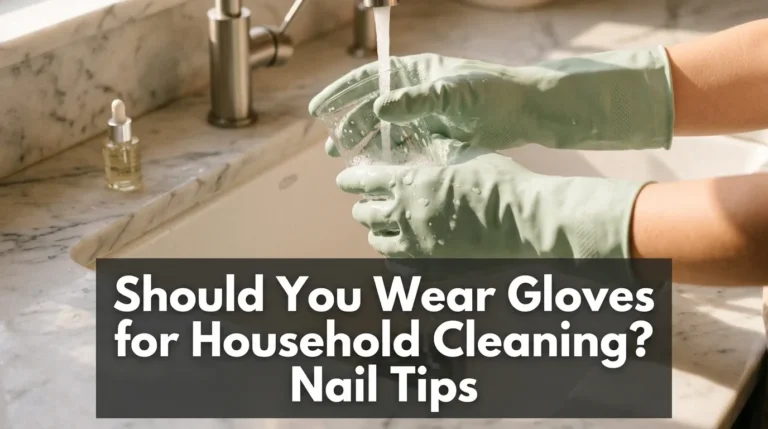
Wear Gloves During Wet Household Chores
Dishwashing, bathroom cleaning, and prolonged exposure to household detergents can irritate the skin around your nails.
Choose gloves appropriate for the task, and remove them after finishing. If moisture builds up inside, dry your hands afterward.
Avoid Biting Your Nails or Picking Hangnails
Nail biting can damage the surrounding skin and introduce germs from your mouth. Pulling hangnails can tear healthy tissue and cause bleeding.
Instead, trim a loose hangnail carefully with a clean, suitable tool.
Store Your Nail Tools Correctly
Don’t leave damp manicure tools inside a tightly closed cosmetic bag. Dry reusable items completely before storage, and replace worn or damaged equipment.
For more long-term maintenance ideas, read our guide on maintaining healthy natural nails.
Frequently Asked Questions About Nail Hygiene Before a Manicure
Q: Should I wash my hands before getting a manicure?
A: Yes. Washing with soap and running water removes ordinary dirt and helps reduce germs before your manicure. Dry your hands thoroughly before nail products are applied.
Q: Should I cut my cuticles before a manicure?
A: No. Healthy cuticles provide a protective barrier around the nail. Cutting or forcefully pushing them back can increase irritation and infection risk. Moisturize the surrounding skin instead.
Q: Can I get a manicure if my nails are damaged?
A: It depends on the damage. Minor dryness may benefit from gentle care, but painful, lifting, infected, or significantly damaged nails should be assessed before another cosmetic treatment.
Q: Do nail tools need to be disinfected before every manicure?
A: Reusable tools should be appropriately cleaned and processed between users. Salons must follow applicable infection-control requirements. Single-use porous items should be replaced after use.
Q: How long should nail preparation take before a manicure?
A: Basic hygiene and preparation usually take around 10–15 minutes, depending on your nail length and whether old polish needs removal. Removing gel or other enhancements can take considerably longer.
Make Nail Hygiene Part of Every Manicure
Good nail hygiene before a manicure is about protecting your natural nails, not making preparation unnecessarily complicated. Clean hands, gentle nail grooming, properly processed tools, and intact cuticles provide a sensible foundation for your next nail design.
Whether you’re planning simple nude polish or an elaborate Pinterest-inspired manicure, prioritize healthy nail preparation first.
Save this nail hygiene checklist to Pinterest so you can revisit these seven steps before your next manicure.

Hi, I’m Jessica, the creator behind Unique Lash & Nails Katy.
I created this website for anyone who loves beautiful nails as much as I do. Here, I share trendy nail designs, seasonal manicure ideas, easy nail care tips, honest product recommendations, and step-by-step guides to help you create salon-worthy nails at home. Whether you’re looking for everyday inspiration or your next favorite nail trend, I hope you’ll find something you love.