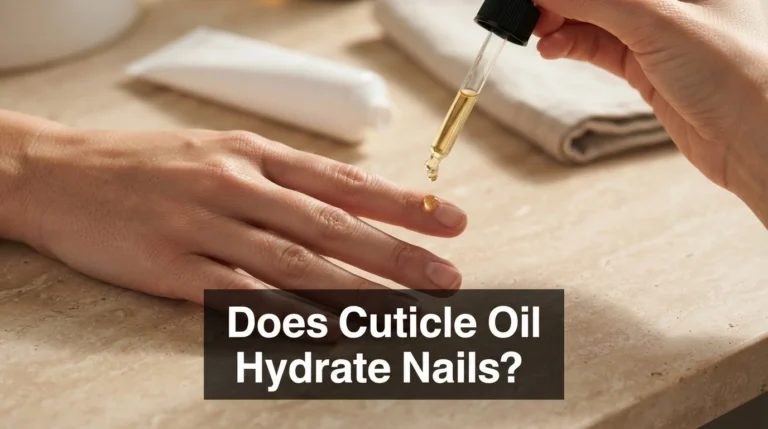
How to Protect Nails After Acrylic Removal
Quick Answer
To protect nails after acrylic removal, keep them short, gently smooth rough edges, apply cuticle oil and hand cream daily, and wear gloves during cleaning. Avoid peeling leftover acrylic, aggressive buffing, and immediate reapplication of nail enhancements. Damaged nail layers cannot be instantly repaired, but consistent protection helps prevent further breakage while healthy new nail grows.
Time needed
10–15 minutes daily
Difficulty
Beginner
Items needed
5 basic essentials
Recovery period
Several months
Just removed your acrylic nails and noticed that your natural nails look thin, rough, or unusually flexible? It’s understandable to worry about breaking them while they recover.
The good news is that many common problems after acrylic removal can be managed with gentle care. You don’t need expensive salon treatments or a complicated routine.
Here’s exactly how to protect your natural nails, prevent additional damage, and support healthier-looking nail growth without making common recovery mistakes.


Why Do Nails Feel Weak After Acrylic Removal?
Your natural nails are made primarily of keratin, a protein that forms the hard nail plate. Although acrylic enhancements can provide temporary length and strength, the application and removal processes may leave your natural nails looking different.
Damage is particularly likely when acrylic is pulled away forcefully, the natural nail is over-filed, or remaining product is scraped aggressively.
Several changes may occur after removal:
- Thin nail plates: Excessive filing or peeling can remove superficial nail layers.
- Peeling edges: Repeated mechanical damage can cause layers of the nail plate to separate.
- Dry nails and cuticles: Acetone exposure and frequent washing can temporarily increase dryness.
- Flexible nails: Nails that have lost surface layers may bend more easily than before.
- Rough surfaces: Filing marks and uneven removal can leave visible ridges or patches.
Not everyone experiences noticeable damage. Proper application, careful removal, and avoiding unnecessary filing can significantly reduce the risk.
If you’re experiencing multiple types of damage, our guide on whether damaged nails can be restored explains what may improve with time and what requires professional attention.
What Should You Avoid Immediately After Acrylic Removal?
Important Warning
Never peel, pry, or scrape away acrylic residue that remains firmly attached to your natural nail. This can remove additional nail layers or cause painful separation. If significant acrylic remains, arrange gentle removal with a qualified nail technician.
For the first few days after removal, focus on minimizing additional stress instead of trying to make your nails look perfect.
Avoid aggressive surface buffing, cutting attached cuticles, picking at peeling layers, using your nails to open objects, and applying another set of acrylics over damaged or painful nails.
If you notice significant pain, swelling, bleeding, pus, greenish discoloration, or a nail lifting away from its nail bed, seek medical advice rather than covering the problem with another manicure.
What Do You Need to Protect Nails After Acrylic Removal?
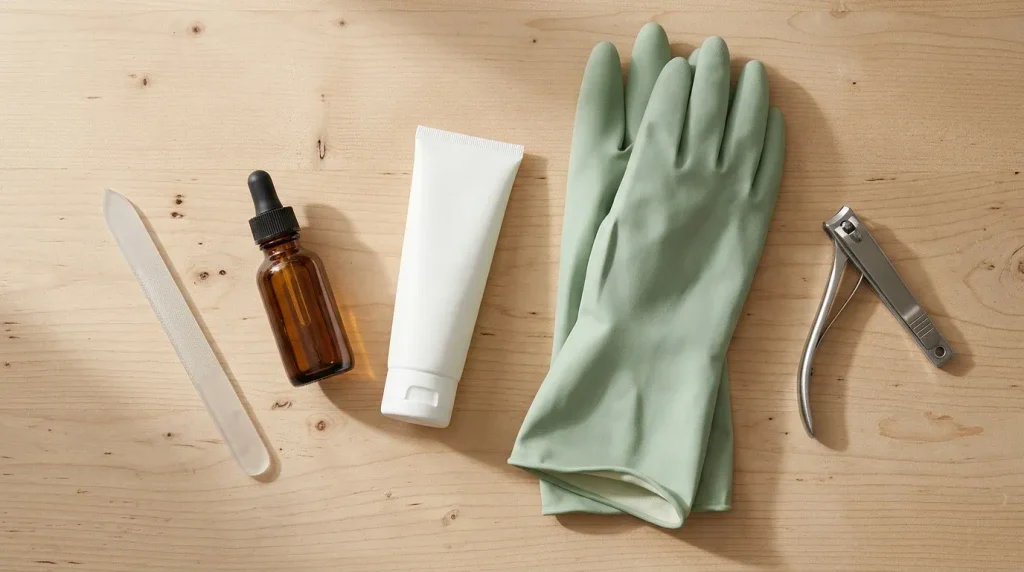
You can build an effective nail-care routine with a handful of affordable products.
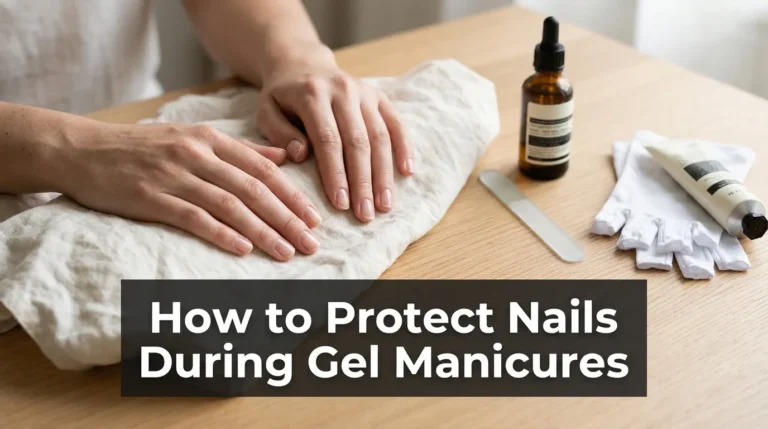
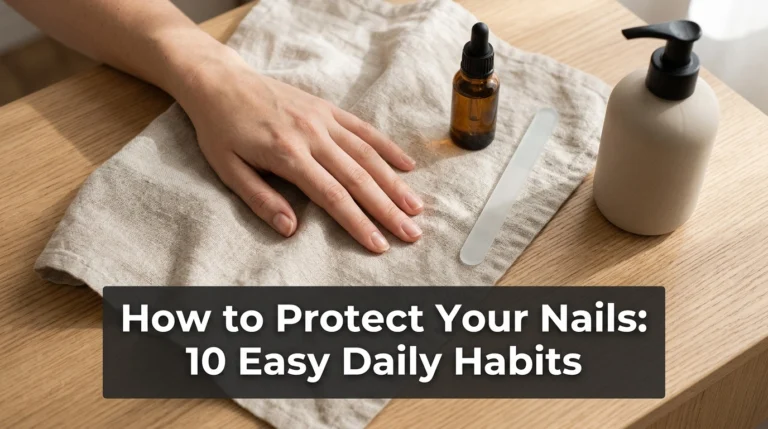
- Glass nail file: Smooths sharp edges with controlled, gentle filing.
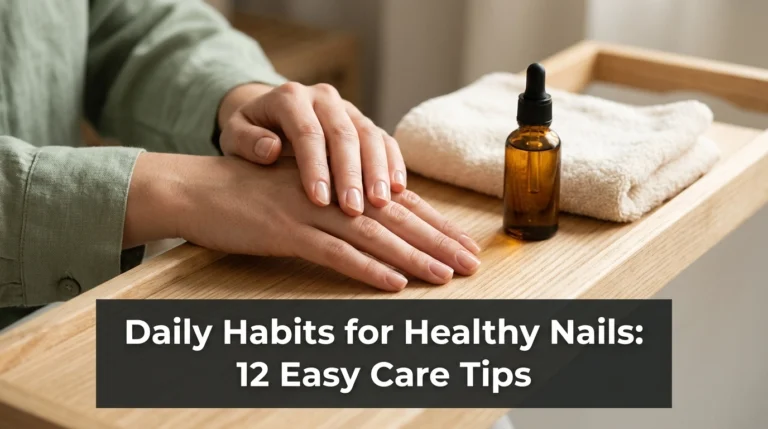
- Cuticle oil: A jojoba-based formula helps moisturize the nail and surrounding skin.
- Fragrance-free hand cream: Helps reduce dryness after washing.
- Protective household gloves: Reduce direct contact with detergents and prolonged water exposure.
- Gentle nail clippers: Keep fragile nails at a manageable length.
Optional products include petroleum jelly for very dry skin and a mild clear protective polish for nails that aren’t painful or showing concerning changes.
You don’t need all these products from one brand. Consistent use matters more than buying a complete nail-repair collection.
How to Protect Nails After Acrylic Removal: 7 Easy Steps
Follow these seven practical steps to keep your nails protected during the recovery period.
1Trim Your Nails to a Comfortable Length
Start by shortening your nails enough to reduce snagging and accidental bending. A short, softly rounded or squoval shape usually works well because sharp corners are less likely to catch on clothing.
Leave a small comfortable free edge instead of cutting directly into the sensitive skin underneath.
Common mistake: Cutting nails extremely short to remove every damaged area. This can expose sensitive tissue and create additional discomfort.
2File Rough Edges Gently
Use a clean glass file or fine-grit file to smooth any uneven free edges. Apply light pressure and avoid repeatedly filing the same spot.
Concentrate on edges that catch on fabric rather than buffing the entire nail surface. If the nail feels sore, stop filing.
Common mistake: Trying to eliminate surface ridges by heavy buffing. This removes more material from an already thin nail plate.
3Apply Cuticle Oil Every Day
Apply a small amount of cuticle oil around each nail and massage gently into the surrounding skin and nail surface. Repeat after handwashing when convenient and before bedtime.
Jojoba-based cuticle oil is a practical option because it spreads easily and helps condition dry skin and nails. It won’t rebuild missing nail layers, but moisturizing can improve comfort and reduce dryness.
Common mistake: Expecting one oil application to repair nail damage overnight. Regular moisturizing supports care, while damaged nail material must gradually grow out.
4Moisturize Your Hands After Washing
Use a fragrance-free hand cream after washing your hands and whenever your skin feels dry. Massage it around your nail folds and fingertips.
If the skin around your nails is especially dry, apply a thin layer of petroleum jelly over moisturizer before bed to help reduce moisture loss.
Common mistake: Moisturizing only the backs of your hands while neglecting the fingertips and skin surrounding your nails.
5Wear Gloves During Household Chores
Wear protective gloves when washing dishes, cleaning bathrooms, or handling detergents. Repeated wetting and drying can contribute to nail brittleness, while household cleaners may irritate already dry skin.
Choose gloves that fit comfortably, and remove them if your hands become excessively sweaty. Dry your hands afterward and apply moisturizer.
Common mistake: Applying cuticle oil daily but continuing to scrub dishes and surfaces without protecting fragile nails.
6Avoid Immediate Acrylic Reapplication
If your natural nails feel thin, tender, or visibly damaged, consider a temporary break from acrylic enhancements. This reduces exposure to additional filing, adhesive products, and removal procedures.
Your nails don’t need to breathe, but they may benefit from avoiding repeated mechanical stress. Choose a simple natural manicure while you monitor their condition.
Common mistake: Applying fresh acrylic immediately to conceal painful or severely thinned nails instead of addressing the damage first.
7Protect Your Nails as New Growth Appears
Continue your moisturizing routine, trim weak tips as they grow, and watch for healthier new nail emerging near the cuticle area.
Photograph your nails every few weeks if you want to monitor progress. Changes are gradual, so comparing pictures over longer intervals may be more useful than examining them every day.
Common mistake: Assuming your nails are fully recovered when the cuticle area looks healthier, even though damaged sections remain farther toward the tips.
How Long Does It Take for Nails to Recover After Acrylic Removal?
Recovery depends on how much damage occurred, the condition of your natural nails, and whether the nail-growing area was affected.
Fingernails typically grow around 3 millimeters per month, although individual growth rates vary. Replacing an entire fingernail commonly takes approximately four to six months and sometimes longer.
Here’s a realistic guide to what you might notice:
- First week: Dryness and roughness may become easier to manage with regular moisturizing and gentle filing.
- Weeks 2–4: You may notice less snagging and breakage if your nails stay short and protected.
- Months 1–3: Healthier new nail gradually moves forward from the base while older damaged sections remain visible.
- Months 4–6 or longer: Much of the previously damaged nail plate may have grown out, depending on the extent and location of the damage.
These are approximate milestones, not guaranteed healing deadlines. Moisturizers may improve appearance and comfort quickly, but they cannot restore missing layers of the existing nail plate.
For more detailed expectations, explore our article on how damaged nails regrow.
What Is the Best Daily Nail Recovery Routine?
You don’t need to spend an hour on nail care. A simple morning and evening schedule makes consistent protection much easier.
Morning: Protect Before Your Day Begins
- Check your nails for sharp edges or new splits.
- Apply a small amount of cuticle oil.
- Massage hand cream around your fingertips.
- Keep gloves available for wet household tasks.
During the Day: Prevent Repeated Damage
- Reapply moisturizer after frequent handwashing.
- Use tools instead of your fingernails to open packaging.
- Avoid picking loose nail layers.
- File minor snags before they become larger tears.
Evening: Moisturize and Inspect
- Wash your hands gently and dry them thoroughly.
- Apply cuticle oil around each nail.
- Follow with a moisturizing hand cream.
- Add a little petroleum jelly if the surrounding skin is very dry.
Pro Tip
Keep a travel-size hand cream beside your sink or inside your handbag. Pairing moisturizing with something you already do, such as washing your hands or getting ready for bed, makes the routine easier to maintain.
Should You Use Nail Strengthener After Removing Acrylics?
A nail strengthener isn’t always necessary. Whether it helps depends on the condition of your natural nail and the product formula.
If your nails are mildly weak but painless, a gentle clear protective coating may reduce surface friction and make the nails easier to manage.
However, some hardening formulas can make nails overly rigid. That may be undesirable when your nails already split or break easily.
Consider these practical guidelines:
- Choose a gentle, flexible protective coating when appropriate.
- Follow the manufacturer’s application and removal instructions.
- Stop using products that cause burning, itching, redness, or irritation.
- Avoid applying hardeners over broken skin, painful nails, or suspected infection.
- Don’t repeatedly remove and reapply coatings just to check your progress.
Remember that even a high-quality nail strengthener cannot permanently restore nail layers removed through aggressive filing.
What Are the Best Products for Nails After Acrylic Removal?
You don’t need expensive treatments. Choose products that address specific problems such as dryness, rough edges, and daily exposure to household chemicals.
Affiliate disclosure: As an Amazon Associate, we earn from qualifying purchases. These recommendations use Amazon search links, and prices and availability may vary.
Recommended Product
Jojoba-Based Cuticle Oil
A jojoba-based oil is useful for moisturizing dry cuticles and conditioning the nail surface after acrylic removal. Look for an easy-to-apply brush or dropper.
As an Amazon Associate, we earn from qualifying purchases.
Recommended Product
Fine Glass Nail File
A reusable fine glass file helps smooth fragile nail edges without requiring aggressive surface buffing. Choose one designed for natural nails.
As an Amazon Associate, we earn from qualifying purchases.
Recommended Product
Fragrance-Free Hand Cream
A fragrance-free cream with moisturizing ingredients such as glycerin or petrolatum can help relieve dryness around nails and fingertips.
As an Amazon Associate, we earn from qualifying purchases.
Recommended Product
Reusable Household Cleaning Gloves
Comfortable waterproof household gloves help keep detergents and prolonged moisture away from fragile nails during chores.
As an Amazon Associate, we earn from qualifying purchases.
What Should You Do and Avoid While Nails Recover?
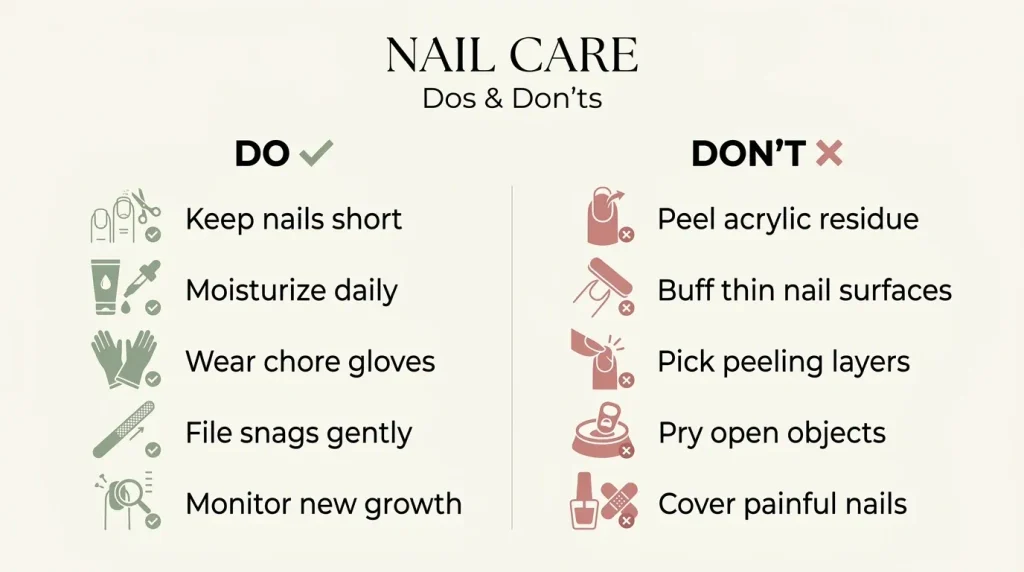
Do
- Keep nails comfortably short.
- Moisturize nails and cuticles daily.
- Wear gloves during wet chores.
- File snags with gentle pressure.
- Monitor healthy new nail growth.
Don’t
- Peel remaining acrylic away.
- Buff thin nail surfaces repeatedly.
- Pick or tear peeling layers.
- Use nails to pry objects open.
- Cover painful or infected nails.
For a broader long-term plan, follow our simple routine for making nails healthy again.
How Can You Fix Common Problems After Acrylic Removal?
Even with careful protection, you might notice a few frustrating changes. Here’s what to do when those problems appear.
Problem: Your nails keep peeling at the tips.
Immediate fix: Gently smooth loose free-edge layers without pulling them. Keep the nails short enough to prevent catching. Prevention: Minimize repeated wetting, wear gloves, and avoid forceful manicure removal.
Problem: Your nails bend more easily than before.
Immediate fix: Shorten the nails to reduce leverage and avoid activities that place pressure on the tips. Prevention: Stop aggressive buffing and allow healthier nail material to grow forward.
Problem: Your cuticles look dry and flaky.
Immediate fix: Apply fragrance-free cream and a small amount of cuticle oil. Prevention: Moisturize after washing, avoid cutting attached cuticles, and reduce exposure to harsh cleaners.
Problem: Your nails still look rough after several weeks.
Immediate fix: Avoid trying to polish away every ridge through heavy buffing. Prevention: Continue gentle care as the damaged sections grow out. If changes worsen, persist without improvement, or affect newly growing nail, consult a healthcare professional.
When Is It Safe to Get Acrylic Nails Again?
There’s no universal number of days you must wait before applying acrylics again. The right decision depends on how your nails look and feel.
Consider postponing acrylics if your natural nails are extremely thin, painful, visibly peeling, or separating from the nail bed.
Before booking another appointment, look for these signs:
- Your nails no longer feel tender during ordinary activities.
- There are no unexplained changes in nail color or attachment.
- New nail growth appears stable.
- Most fragile edges can be kept smooth without repeated breakage.
- A qualified nail technician can assess the nails without causing additional discomfort.
Some people may comfortably return to enhancements after a shorter break, while significant nail thinning can require months of regrowth.
When you do return, ask your technician to minimize natural-nail filing and use a removal technique appropriate for the exact acrylic system.
Pro Tip
Before your next salon appointment, take a clear photograph of your natural nails. It gives you a useful baseline to compare their appearance after future removals and helps you notice recurring damage.
When Should You See a Doctor About Damaged Nails?
Most mild cosmetic damage can be managed with protection and patience. However, certain symptoms suggest a problem that needs more than routine nail care.
Seek medical evaluation if you notice:
- Persistent or worsening nail pain.
- Redness, warmth, swelling, or pus around the nail.
- A nail separating significantly from the nail bed.
- Unexplained green, black, or dark discoloration.
- Bleeding or an injury involving living tissue.
- Changes that continue to worsen despite gentle care.
Don’t use acrylic, gel, or opaque polish to hide these symptoms. A dermatologist or other healthcare professional can help determine whether an infection, injury, or another condition is responsible.
Frequently Asked Questions About Protecting Nails After Acrylic Removal
Q: What is the fastest way to strengthen nails after acrylic removal?
A: Keep your nails short, moisturize daily, protect them from wet chores, and stop aggressive filing or picking. These steps can reduce further breakage, but lost nail layers must grow out naturally.
Q: Can I paint my nails immediately after acrylic removal?
A: If your nails are comfortable and free of concerning changes, a gentle regular polish may be reasonable. Avoid covering nails that are painful, infected-looking, or significantly separated.
Q: Is coconut oil or cuticle oil better after acrylic removal?
A: Both may help moisturize dry skin around your nails. A jojoba-based cuticle oil is convenient for targeted application, while plain coconut oil may suit you if your skin tolerates it. Neither rebuilds damaged nail layers.
Q: Do nails need to breathe after wearing acrylics?
A: No. Nail plates don’t breathe like living skin. A break from acrylics can still be helpful because it reduces repeated filing, removal, and mechanical stress while damaged sections grow out.
Q: How long should I wait before getting acrylics again?
A: There is no fixed waiting period. If your nails are thin, painful, or peeling significantly, postpone enhancements until they are comfortable and stable. More substantial damage may need several months to grow out.
How Can You Keep Your Natural Nails Healthy Long-Term?
The best long-term strategy is to prevent repeated nail trauma. Choose careful manicure techniques, keep natural nails at a manageable length, and maintain daily moisturizing habits even after your nails appear healthier.
Pay special attention to how acrylics are removed in the future. Forceful peeling and unnecessary filing can undo months of careful protection.
If your nails remain fragile, consider the gentle maintenance steps in our guide on repairing a damaged nail at home safely.
Final Thoughts: Protect Your Nails While They Grow
Learning how to protect nails after acrylic removal starts with simple habits: keep them short, moisturize consistently, wear gloves, and avoid further filing or peeling damage. Give healthy new nail time to replace the weakened areas rather than looking for an overnight repair.
Save this guide to your Pinterest nail-care board so you can revisit these seven recovery steps whenever your natural nails need extra protection after acrylics.

Hi, I’m Jessica, the creator behind Unique Lash & Nails Katy.
I created this website for anyone who loves beautiful nails as much as I do. Here, I share trendy nail designs, seasonal manicure ideas, easy nail care tips, honest product recommendations, and step-by-step guides to help you create salon-worthy nails at home. Whether you’re looking for everyday inspiration or your next favorite nail trend, I hope you’ll find something you love.