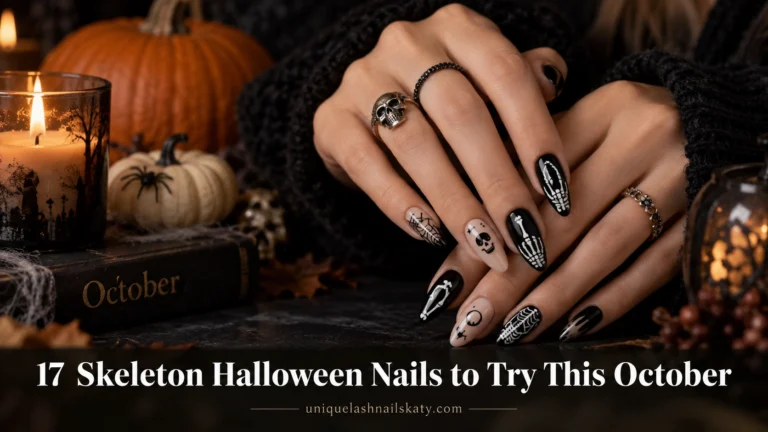
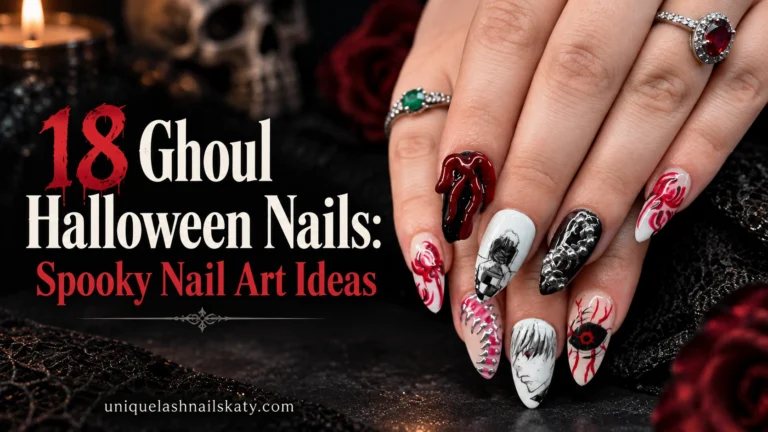
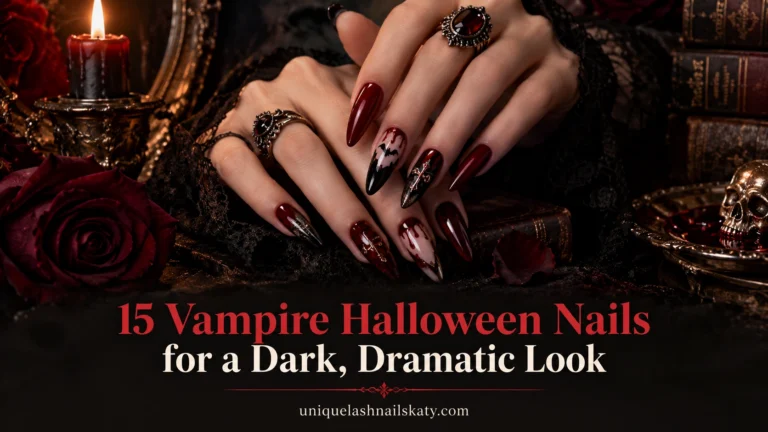
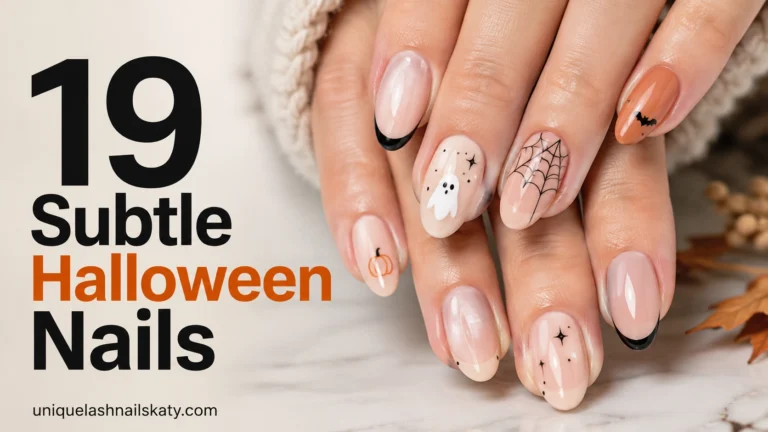
17 Simple Halloween Nails You’ll Want to Try This Year
If your Pinterest board is already flooded with spiderwebs and pumpkins, you’re in the right place. Halloween nails don’t have to mean hours in the chair or a full acrylic set — some of the cutest looks out there are shockingly simple to pull off. Below you’ll find 17 designs ranging from one-nail minimalism to full glitter-drenched glam, so there’s something here no matter your skill level or vibe.
✦ Our Top Picks at a Glance
Best Overall — Plaid Pumpkin French Tip Nails
Best for Beginners — Minimalist Black Cat Silhouette Nail
Most Trendy — Mint Green Stitched Frankenstein Nails
Best for Special Occasions — Bloody Matte Stiletto Nails
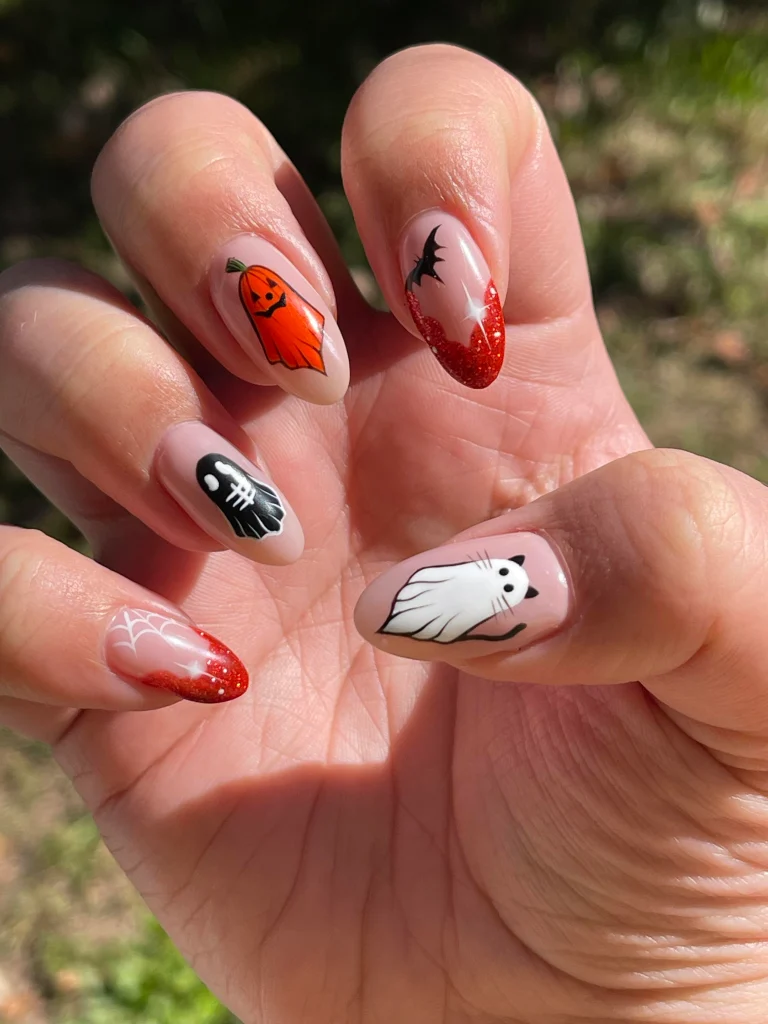


#1. Mismatched Halloween Icons Nails
Each nail gets its own tiny character here — a pumpkin, a red glitter bat, a skeleton hand, a spiderweb, and a fluffy ghost cat. It reads playful instead of chaotic because the base stays a soft nude across every nail.
Best For — anyone who can’t pick just one design
Pro Tip — Sketch each icon in pencil on paper first so your proportions stay consistent nail to nail.
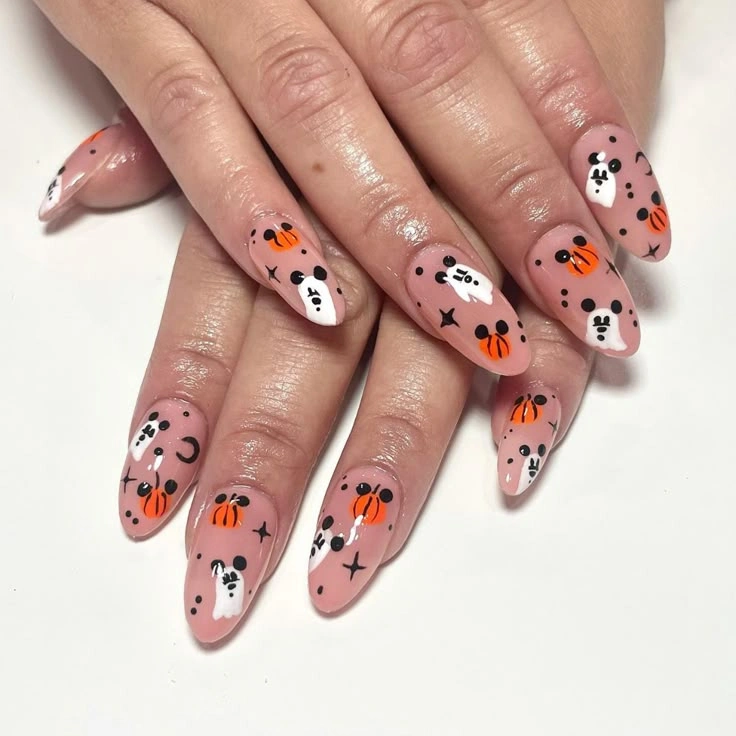
#2. Pumpkin & Ghost Polka Dot Nails
Scattered black dots and tiny stars fill in the gaps around alternating pumpkin and ghost accents. It’s busy in the best way — dense enough to feel festive without needing a steady freehand.
Best For — people who love a maximalist Halloween look
Pro Tip — Use a nail art dotting tool instead of a brush for perfectly round polka dots every time.
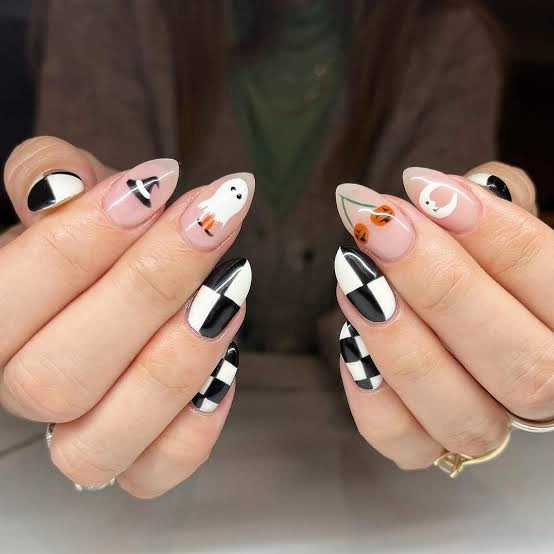
#3. Black-and-White Checkerboard Halloween Nails
Bold checkerboard blocks are broken up by a single ghost nail and a tiny pumpkin accent, keeping the graphic pattern from feeling too heavy. It’s a modern, almost editorial take on Halloween nail art.
Best For — fans of graphic, trend-forward nail art
Pro Tip — Apply thin strips of nail striping tape in a grid before painting so your checkerboard lines stay razor-sharp.
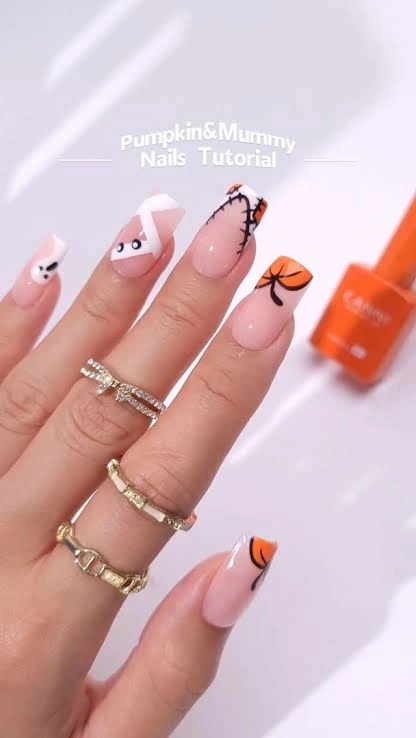
#4. Pumpkin & Mummy French Tip Nails
A classic French tip gets a Halloween twist with a crisscrossed mummy wrap on one nail and a simple orange pumpkin silhouette on another. It’s an easy way to dress up a manicure you already know how to do.
Best For — beginners who already do French tips
Pro Tip — Use a thin nail art liner brush for the mummy’s crisscross lines so they stay even and don’t blur together.
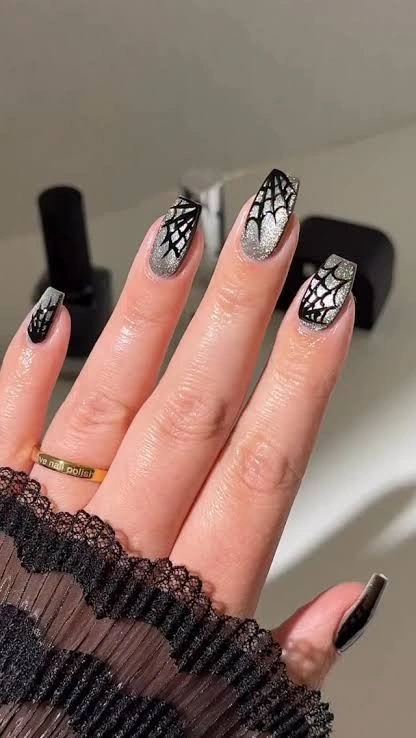
#5. Silver Glitter Spiderweb Nails
A shimmery silver glitter gradient sits under black spiderweb linework, giving the whole set an icy, moonlit feel. It’s dramatic on longer coffin-shaped nails but works just as well on a shorter set.
Best For — glam lovers who want a subtle sparkle
Pro Tip — Sponge on silver glitter nail polish in light layers so the sparkle builds gradually instead of clumping.
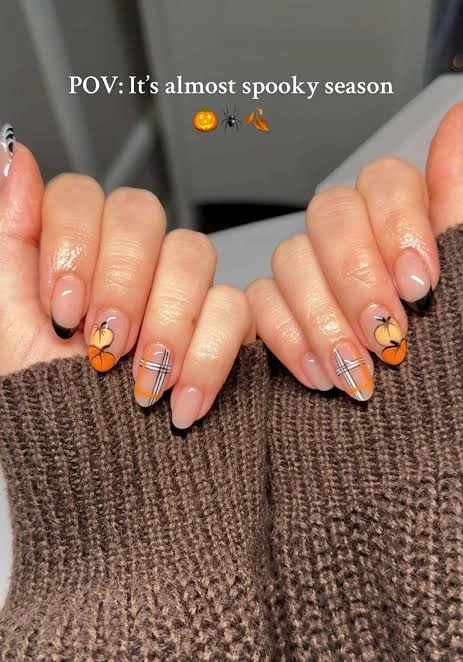
#6. Plaid Pumpkin French Tip Nails
Cozy brown-and-cream plaid lines pair with tiny orange pumpkins over a black French tip for a look that feels like fall itself. It’s warm, wearable, and doesn’t scream “costume” the way some Halloween nails can.
Best For — cozy-fall lovers who want office-appropriate nails
Pro Tip — Paint the plaid’s thin crossing lines last, once the base coat is fully dry, so they don’t drag or smear.
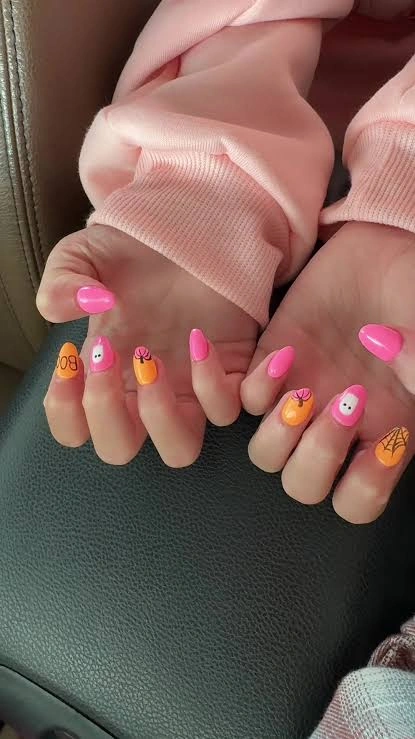
#7. Bright Pink Pumpkin & Ghost Nails
Who says Halloween has to be orange and black? A hot pink base with orange pumpkin accents, a friendly ghost, and a little spiderweb feels fun, youthful, and totally unexpected.
Best For — anyone who wants a non-traditional color palette
Pro Tip — Choose a creamy, opaque hot pink base so it covers in two coats without streaking under the accent art.
 Save
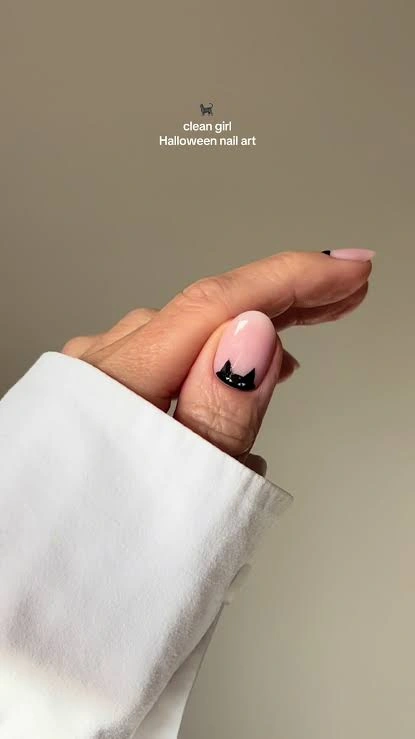
Save#8. Minimalist Black Cat Silhouette Nail
Just one small black cat silhouette on an otherwise bare nail — this is Halloween nail art at its most restrained and chic. It’s the “clean girl” approach to spooky season.
Best For — total beginners and minimalist nail lovers
Pro Tip — A nail art fine liner pen makes it easy to draw a clean cat silhouette freehand, no brush skills required.
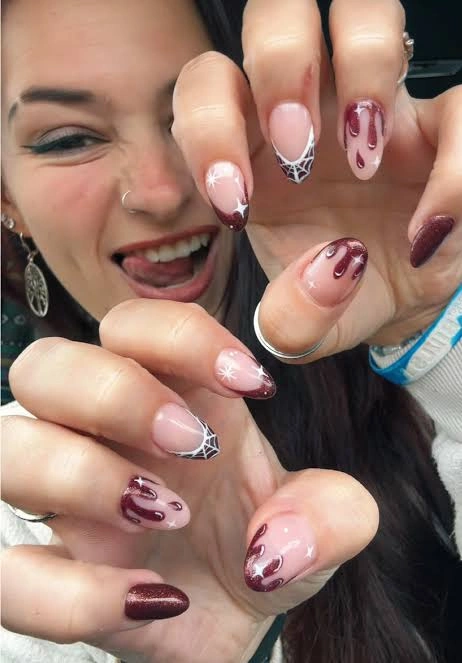
#9. Burgundy Spiderweb & Drip Nails
Deep burgundy “drips” trail down a sheer nude base, paired with a delicate silver spiderweb French tip and a hint of shimmer. It feels vampy and a little gothic without going full costume.
Best For — a moody, elevated Halloween night out
Pro Tip — Let each “drip” dot dry slightly before dragging the tail downward so it holds its shape instead of pooling.
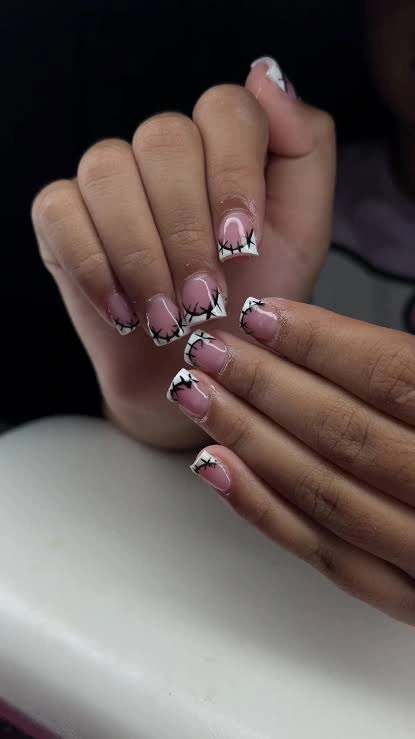
#10. White French Tip Spiderweb Nails
A crisp white French tip becomes instantly spooky once black spiderweb lines are added over the top. It’s proof that you can reuse a manicure style you already love and just layer Halloween details onto it.
Best For — French tip regulars wanting an easy upgrade
Pro Tip — Draw the web’s spokes first, then connect them with curved lines — it’s much easier than trying to freehand the whole web at once.
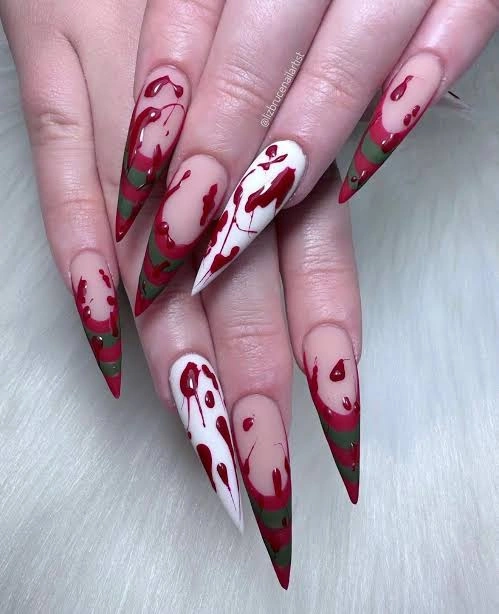
#11. Bloody Matte Stiletto Nails
Long matte stiletto nails in nude and white get striped with olive green and dripped in blood-red polish for a genuinely eerie effect. This one’s a full statement — perfect for a costume party where you want your hands to steal the show.
Best For — costume parties and dramatic Halloween looks
Pro Tip — Seal the whole design with a matte top coat to keep the “blood” looking fresh and non-glossy.
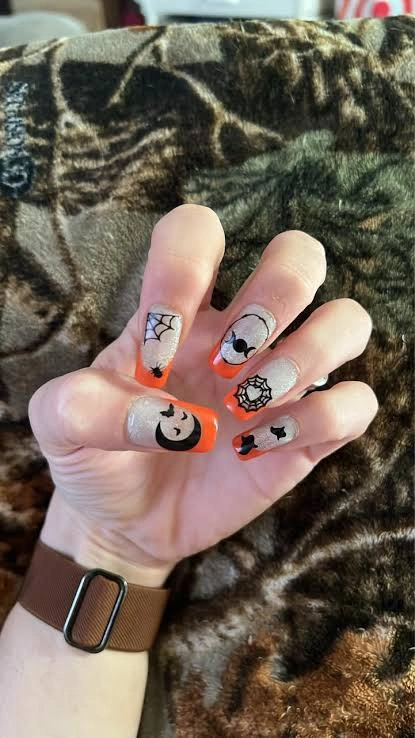
#12. Orange Tip Spiderweb & Bat Nails
A shimmery nude base with bold orange French tips gets topped off with a spiderweb, a spider, a moon-and-cat silhouette, and a crescent bat. It hits every classic Halloween icon without feeling overcrowded.
Best For — traditionalists who want all the classic icons
Pro Tip — Use nail vinyl guides to keep the orange tip line crisp before adding any freehand details on top.
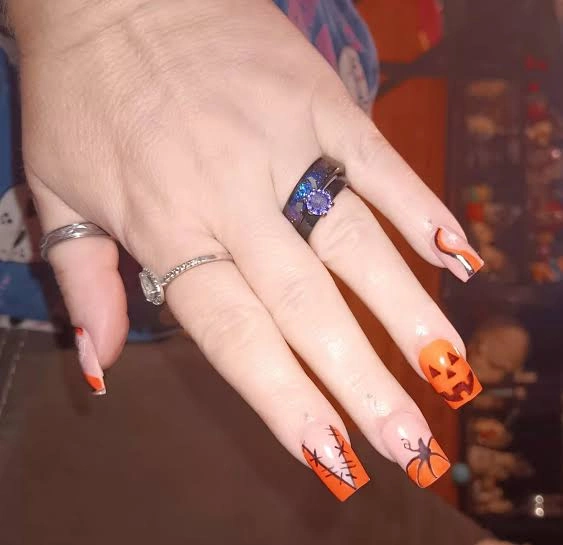
#13. Orange French Pumpkin & Spiderweb Nails
A soft orange French tip becomes the backdrop for a carved jack-o’-lantern face, a delicate spiderweb, and a tiny spider dangling from its thread. Long square nails give this design plenty of room to shine.
Best For — long square-nail fans who love jack-o’-lanterns
Pro Tip — Paint the pumpkin’s face in black last, once the orange has fully cured, to avoid the colors bleeding into each other.
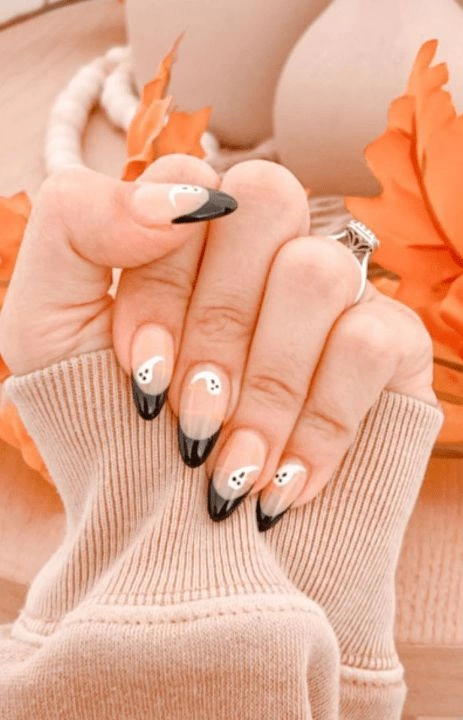
#14. Black Tip Ghost Nails
Sharp black French tips frame sweet, rounded ghost silhouettes on an otherwise nude nail. The contrast between the pointed black tip and the soft, friendly ghost shape is what makes this one so satisfying to look at.
Best For — almond or stiletto nail shapes
Pro Tip — Round off the top of the ghost shape with a small dotting tool before filling it in for a smoother silhouette.
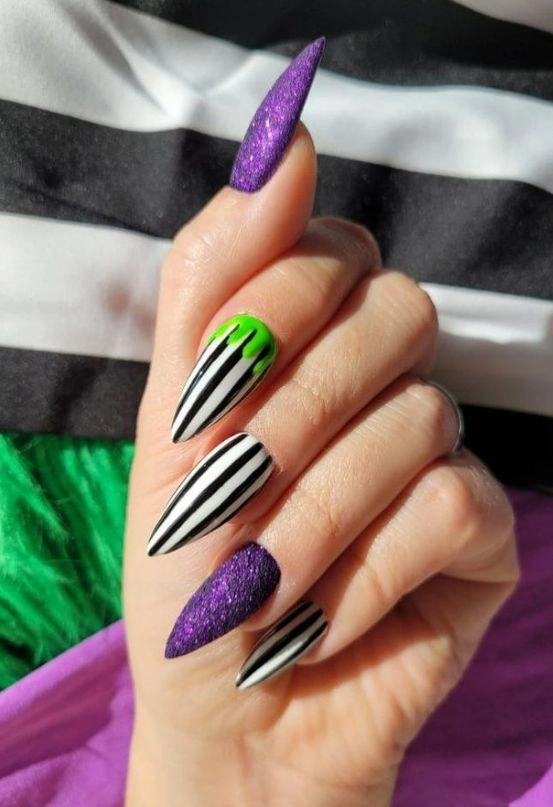
#15. Purple Glitter & Striped Slime Nails
Chunky purple glitter nails alternate with bold black-and-white stripes, and one accent nail gets a dripping green “slime” effect straight out of a Beetlejuice fever dream. It’s maximalist, campy, and a whole lot of fun.
Best For — bold, costume-inspired nail lovers
Pro Tip — Press chunky glitter polish on with a sponge rather than a brush for fuller, more even glitter coverage.
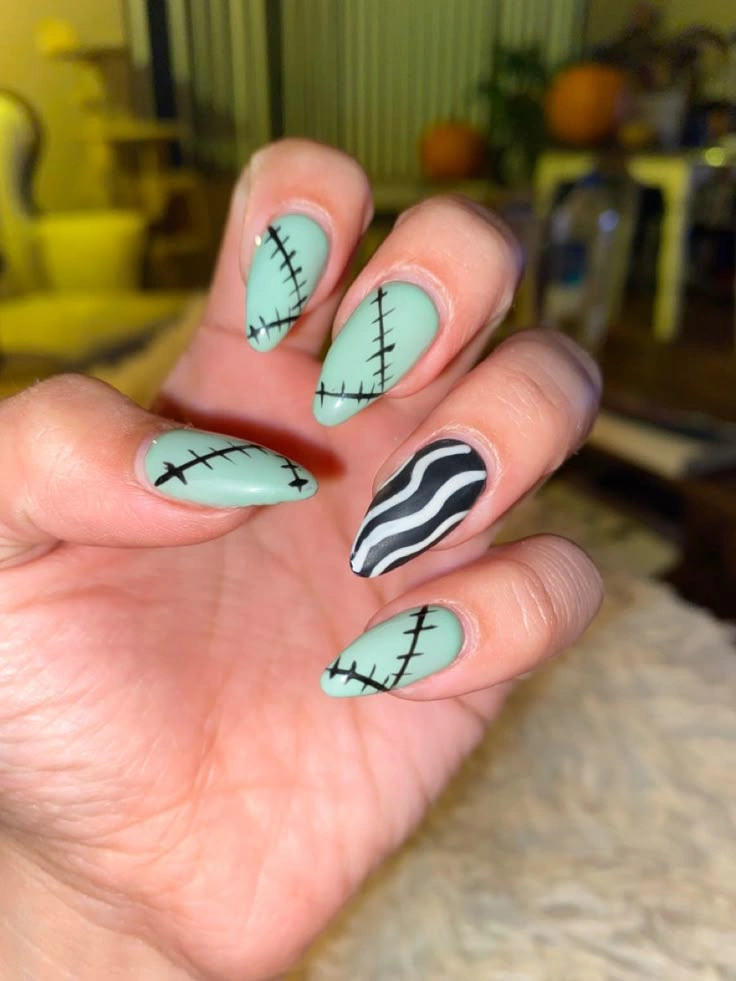
#16. Mint Green Stitched Frankenstein Nails
A soft matte mint-green base gets simple black “stitch” lines for an unmistakable Frankenstein’s-monster vibe, with one wavy black-and-white accent nail thrown in for variety. It’s trendy, unexpected, and easier to paint than it looks.
Best For — anyone chasing this season’s trending colors
Pro Tip — Finish with a matte top coat — the flat texture is what sells the eerie, monster-skin effect.
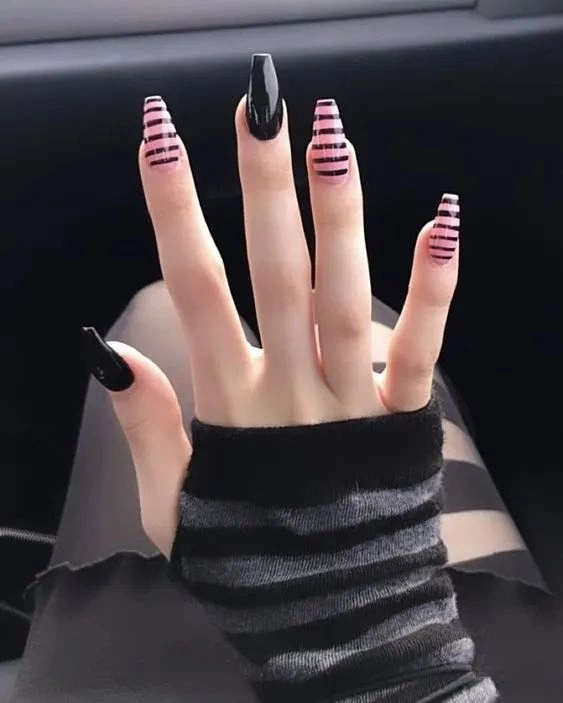
#17. Black & Pink Striped Stiletto Nails
Long glossy stiletto nails alternate between solid black and pink-with-black-stripes, no icons or spiderwebs needed. Sometimes the shape and the pattern alone are spooky-season enough.
Best For — stiletto-shape lovers who prefer pattern over icons
Pro Tip — Use a striping brush loaded with thin polish so each line stays consistent in width down the whole nail.
How to Choose the Right Nail Design
With 17 options above, narrowing it down can feel harder than actually painting your nails. Here’s what to think about before you pick.
- Nail Shape — Longer stiletto and coffin shapes give designs like #11 and #17 more canvas to work with, while shorter almond or round shapes suit compact icons like #8 and #14.
- Skin Tone — Warm oranges (like #6 and #13) tend to pop against deeper skin tones, while cool tones like the silver and mint in #5 and #16 flatter fair to medium skin beautifully.
- Occasion — Save the bolder, more theatrical looks like #11 and #15 for parties, and lean on subtler designs like #8 or #10 for work or everyday wear.
- Skill Level — If you’re new to nail art, start with a single-accent design like #8 before working up to multi-element sets like #1 or #12.
If you want more seasonal ideas beyond this list, the Halloween nails category has plenty of fresh inspiration to keep browsing.
What You’ll Need
Most of these designs come together with a handful of everyday nail art tools. Here’s what to have on hand.
For clean polka dots, eyes, and rounded ghost shapes
Essential for spiderwebs, stitches, and freehand lines
Makes checkerboard and stripe patterns razor-sharp
For sparkly gradients like the silver spiderweb look
Locks in flat, eerie finishes like Frankenstein and bloody-drip nails
Adds shine and helps your design last through Halloween night
Pro Tips for a Long-Lasting Manicure
Always Cap Your Tips
Swipe your top coat over the very edge of the nail, not just the surface. This “capping” step seals the polish and prevents chipping at the tips first.
Let Layers Fully Dry
Rushing between coats is the number one cause of smudged designs. Give each layer of art at least a minute or two before adding the next detail on top.
Wear Gloves for Chores
Dish soap and cleaning products break down polish fast. A pair of rubber gloves can add days of extra life to your design.
Moisturize Your Cuticles Daily
Healthy, hydrated cuticles help polish adhere better and last longer. A quick cuticle oil swipe each night makes a real difference.
Frequently Asked Questions
Q: What are the easiest Halloween nail designs for beginners?
A: Single-accent looks like the minimalist black cat nail or a simple French tip with one spiderweb are the easiest to start with. They require minimal freehand work and still look intentional.
Q: How long do simple Halloween nail designs last?
A: With a proper base coat, gel top coat, and daily cuticle oil, most of these designs can last 10 to 14 days without major chipping.
Q: Can I do these Halloween nail designs at home without a nail tech?
A: Yes, most of the designs in this list use basic tools like dotting tools, striping tape, and fine liner brushes, which makes them fully doable at your own kitchen table.
Q: What nail shape works best for Halloween nail art?
A: Almond and coffin shapes give you the most room for detailed art, while short round nails work great for minimalist single-icon designs.
Recommended Product
Nail Art Fine Liner Brush Set
★★★★☆ Highly rated on Amazon
A good fine liner brush makes spiderwebs, stitches, and freehand icons dramatically easier to control, even if you’ve never done nail art before.
As an Amazon Associate, we earn from qualifying purchases.
Final Thoughts
Halloween nail art doesn’t have to be complicated to feel special. Whether you go for a single black cat or a full glitter-drenched spiderweb set, the best design is simply the one that makes you smile every time you look down.
If your polish starts to lift a little too soon, it’s worth reading up on how to restore damaged nails, and browsing the nail products roundup for more tools worth keeping in your kit.
Which of these nail looks are you trying first? Save this post to Pinterest so you can come back to it whenever you need fresh nail inspo!

Hi, I’m Jessica, the creator behind Unique Lash & Nails Katy.
I created this website for anyone who loves beautiful nails as much as I do. Here, I share trendy nail designs, seasonal manicure ideas, easy nail care tips, honest product recommendations, and step-by-step guides to help you create salon-worthy nails at home. Whether you’re looking for everyday inspiration or your next favorite nail trend, I hope you’ll find something you love.