17 Halloween Nails with Flower Ideas You’ll Love
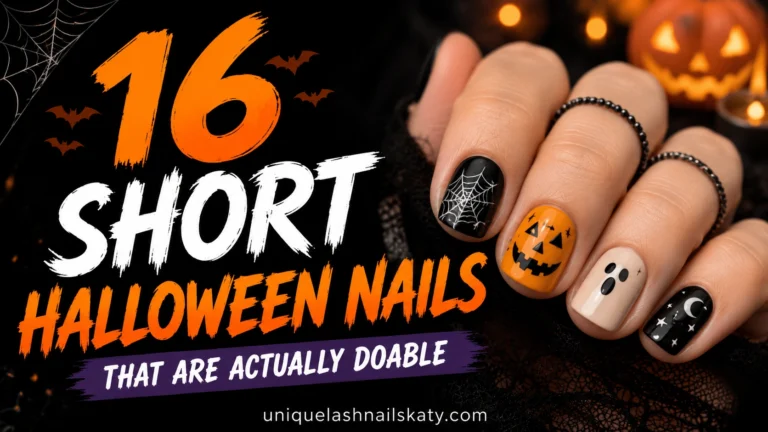
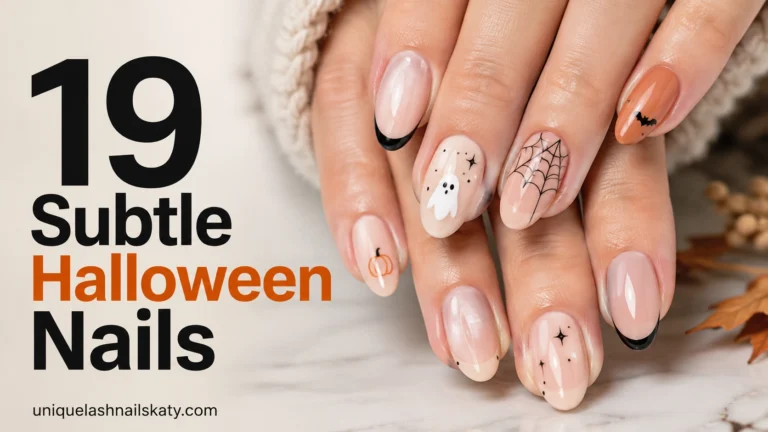
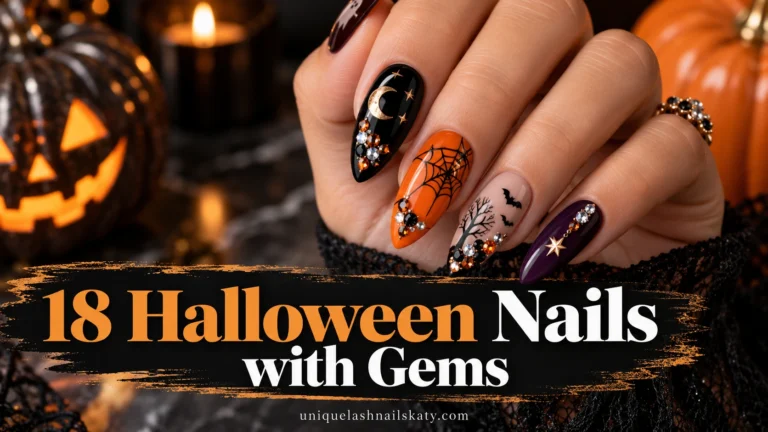
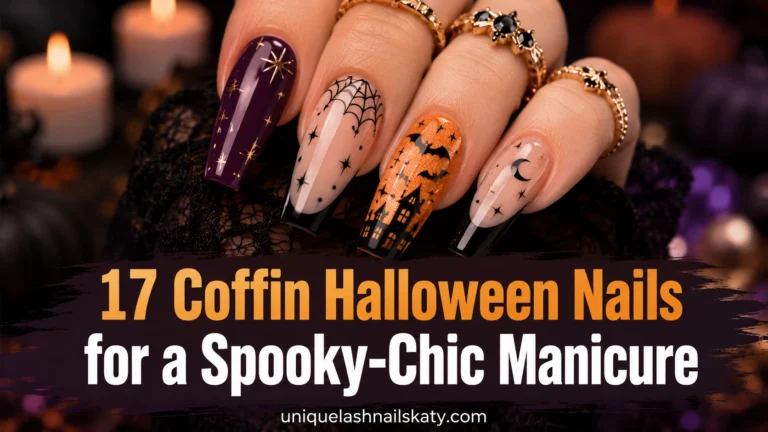
Who says Halloween nails have to be all cobwebs and black polish? This year’s biggest trend is mixing spooky icons with soft, pretty florals — and it’s easily the prettiest thing happening in nail art right now.
Below you’ll find 17 real Halloween-meets-floral manicures, from beginner-friendly french tips to full hand-painted works of art.
Grab your polish, pick your favorite, and let’s get into it.
✦ Our Top Picks at a Glance
Best Overall — Retro Daisy Ghost Nails
Best for Beginners — Floral Ghost Nails with Orange French Tips
Most Trendy — Black and White Daisy Ghost Stiletto Nails
Best for Special Occasions — Gothic Skull and Rose Nails
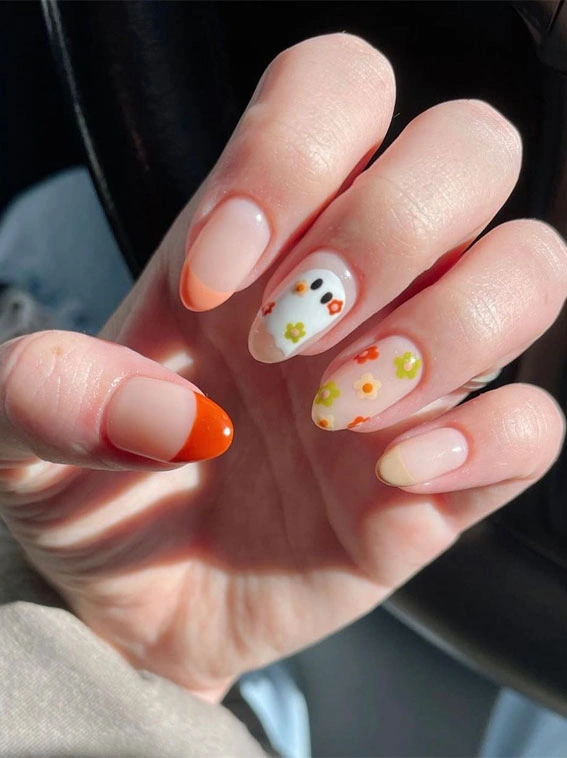
#1. Floral Ghost Nails with Orange French Tips
A sheer nude base lets the design do the talking here, with one nail showing off a round-eyed ghost tucked into tiny daisies. The bold orange french tip on the thumb ties the whole look together without feeling too busy.
Best For — first-timers who want spooky-cute, not spooky-scary
Pro Tip — Use nail striping tape along the cuticle line before painting the french tip. Peel it off once the polish is tacky and you’ll get a crisp, salon-level edge every time.
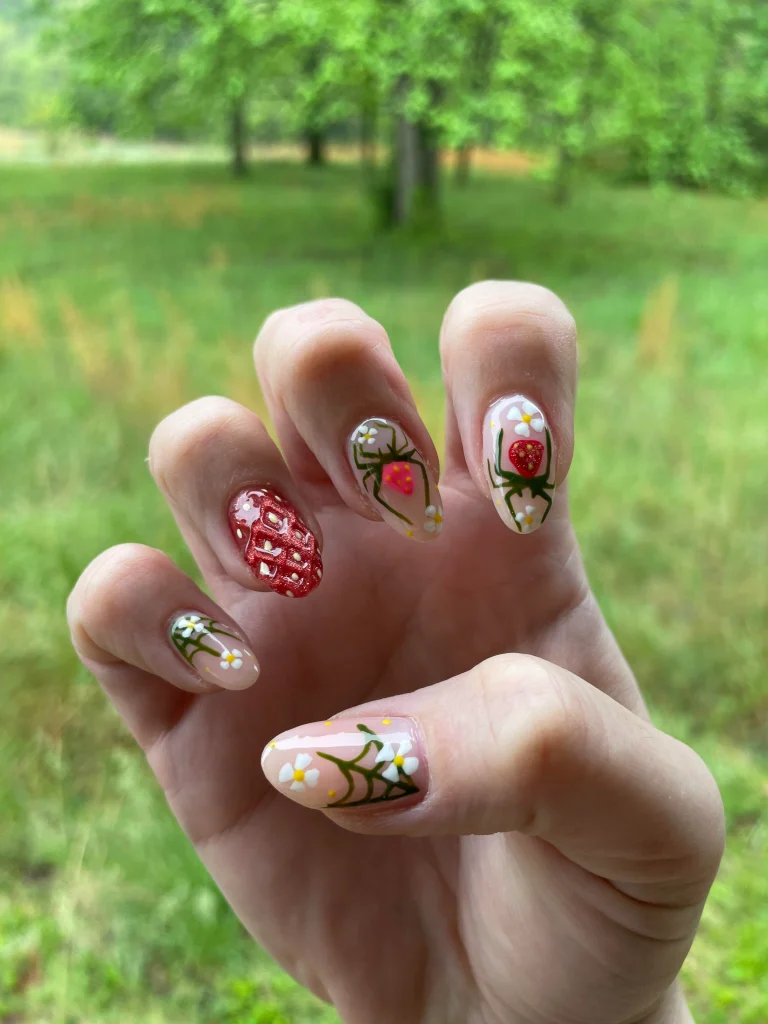
#2. Strawberry Spiderweb Daisy Nails
This one’s what happens when spring and Halloween collide in the best way. Glittery red strawberries sit next to nude nails covered in fine cobweb lines and tiny white daisies, so it never tips fully into “creepy.”
Best For — anyone who wants a fresh, garden-party twist on fall nails
Pro Tip — Paint the web lines last with the thinnest brush you own. Going in too early means you’ll smudge them while adding the flowers around them.
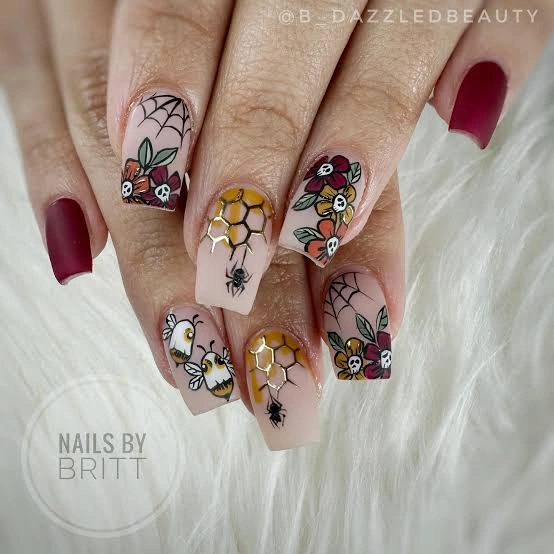
#3. Gothic Floral Skull and Bee Nails
Matte burgundy nails set the mood, while the nude accents pack in skull-and-flower motifs, honeycomb texture, and a couple of tiny bees for good measure. It’s a lot of pattern, but it somehow all works together.
Best For — maximalists who love a mix-and-match print mani
Pro Tip — A floral nail stamping plate makes the skull-and-flower motif easy to repeat identically across all ten nails.
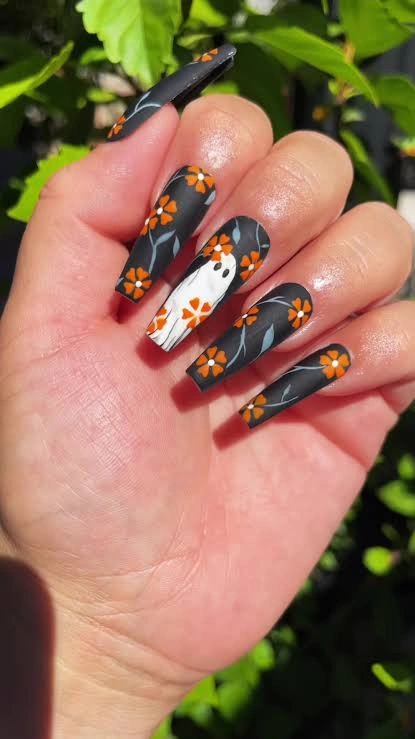
#4. Black Matte Ghost and Orange Blossom Nails
Long matte black coffin nails get softened by trailing orange blossoms and thin sage vines climbing up each nail. A sweet, wide-eyed ghost wearing a flower crown steals the show on the accent finger.
Best For — bold nail lovers who want length and drama
Pro Tip — Apply your matte top coat in one thin, even swipe. Going back over it once it starts to set will leave streaks that are hard to fix.
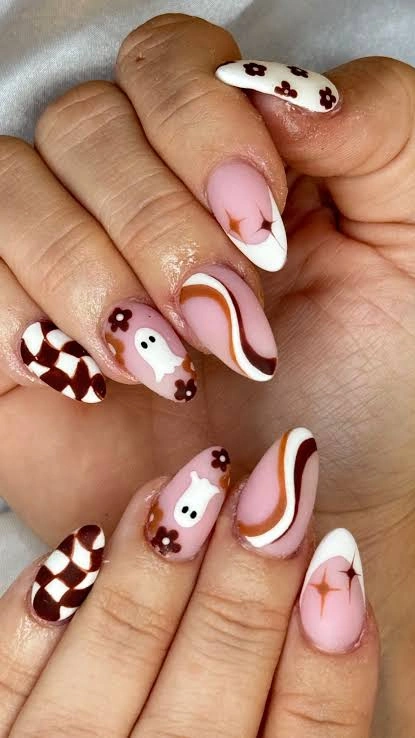
#5. Pink and Brown Ghost Floral Swirl Nails
Soft pink meets cocoa-brown swirls and a checkerboard accent for a mani that feels more cottagecore than classic Halloween. A friendly little ghost peeks out from a scatter of tiny brown flowers, keeping it playful.
Best For — anyone drawn to muted, autumnal color palettes
Pro Tip — Load your brush with a bit more polish than usual for the swirls. A thirsty brush creates a broken, choppy line instead of one smooth curve.
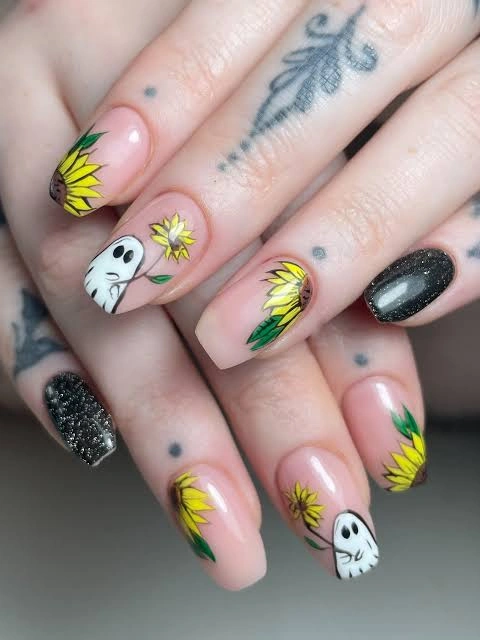
#6. Sunflower Ghost French Nails
Painted sunflowers climb up a sheer nude french tip, with a bashful ghost peeking out from behind the petals on one nail. A couple of black glitter nails mixed in add just enough contrast.
Best For — fall lovers who want sunflowers over pumpkins for once
Pro Tip — Seal the sunflower centers with an extra dot of high-shine top coat only — this makes them pop against the matte petals around them.
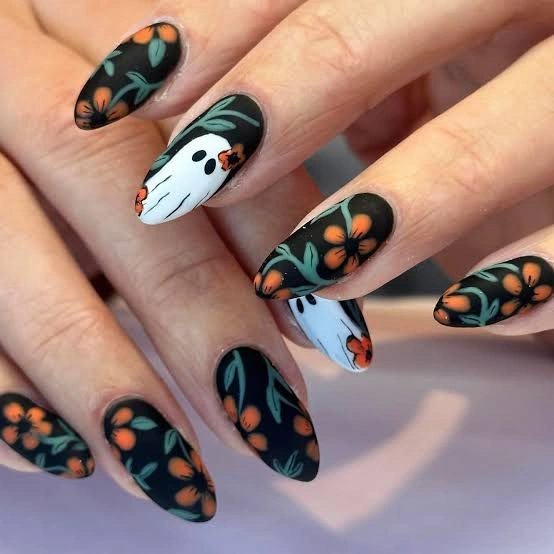
#7. Black Floral Ghost Nails with Orange Blooms
Matte black almond nails are covered edge to edge in trailing orange florals and soft green leaves. One ghost accent nail, dotted with a single tiny blossom, adds just enough Halloween without overpowering the botanical vibe.
Best For — moody, botanical-leaning Halloween lovers
Pro Tip — Paint the full floral background first and let it dry completely before outlining the ghost on top. Painting in the wrong order muddies both designs.
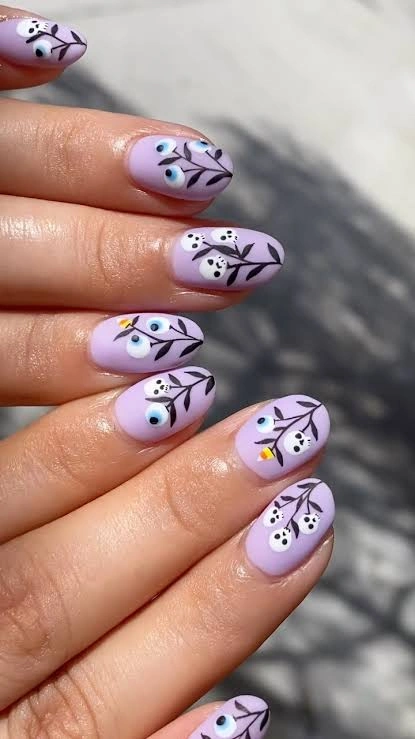
#8. Lavender Skull and Floral Branch Nails
A pastel lilac base gets a pastel-goth upgrade with delicate black branch linework and tiny blue-eyed skulls tucked among the flowers. It’s soft and spooky at the same time, which is exactly the point.
Best For — anyone who loves pastel colors but still wants a spooky detail
Pro Tip — Use a dotting tool for the skull eyes instead of a brush. It’s the fastest way to get every eye looking the same size.
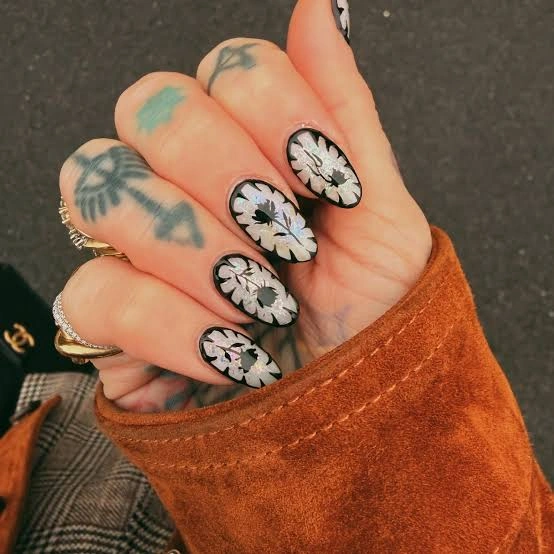
#9. Black and White Holographic Floral Nails
Bold black outlines frame holographic floral fills on oval nails, so every petal catches the light differently as your hand moves. It’s a striking, glam take on floral nail art that still feels autumnal.
Best For — glam nail fans who want maximum shine
Pro Tip — A holographic nail topper applied over black outlines gives you that shifting rainbow effect without needing to hand-paint gradients.
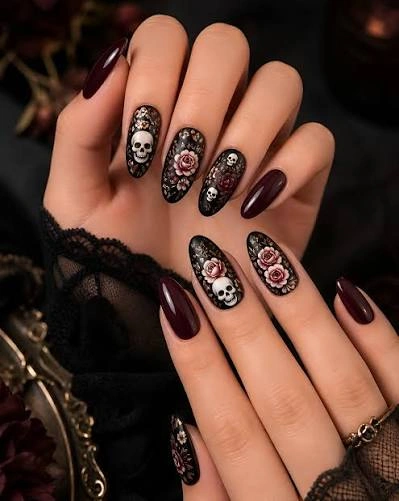
#10. Gothic Skull and Rose Nails
Deep burgundy and black almond nails get a romantic-gothic finish with lace texturing, ivory skulls, and clusters of blush roses. This is the design to save for a Halloween party or a costume that needs to photograph well.
Best For — special occasions, parties, and date nights
Pro Tip — If you’re wearing press-ons for this one, a strong press-on nail glue will keep the detailed art intact through a full night out.
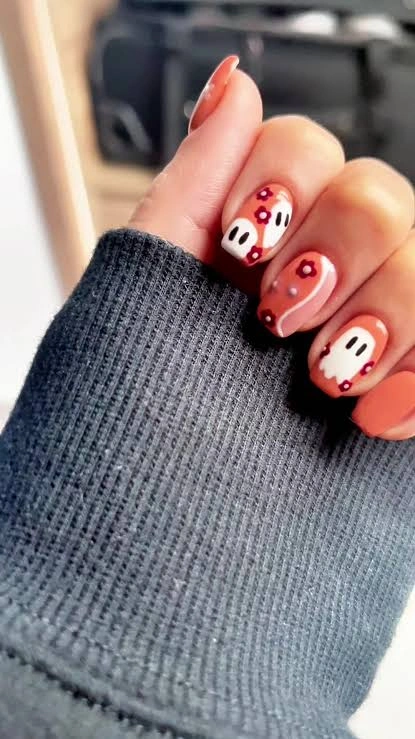
#11. Peach Ghost Floral Nails
A warm peach base is the backdrop for cream ghosts dotted with tiny red flowers and playful dot clusters. It’s wearable enough for the office and still unmistakably Halloween.
Best For — everyday wear that doesn’t scream “costume”
Pro Tip — Use a dotting tool in two sizes — one for the flower petals, a smaller one for the centers — to keep the tiny florals looking neat.
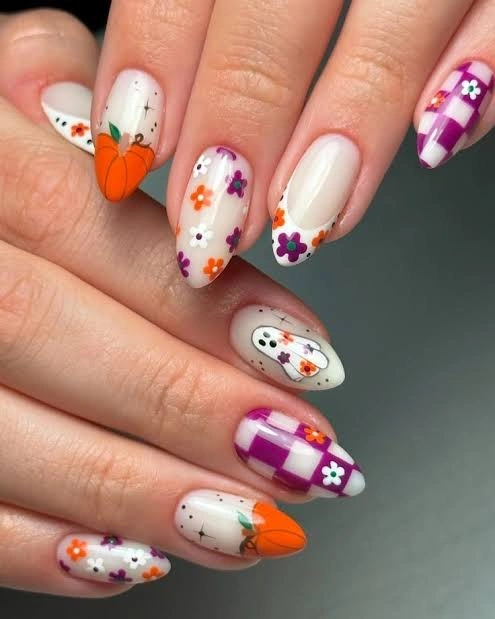
#12. Gingham Pumpkin Floral Nails
A crisp white base carries clusters of tiny purple and orange flowers alongside plump little pumpkins, while a purple gingham accent nail adds a preppy, picnic-table twist. A shy ghost even makes a cameo.
Best For — cottagecore and preppy-pattern lovers
Pro Tip — Use striping tape to mask off your gingham squares before filling them in — freehand grid lines rarely stay straight.
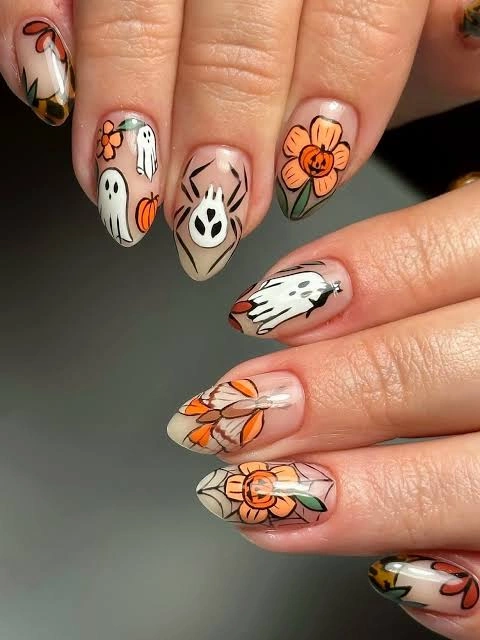
#13. Nude Ghost and Pumpkin Floral Nails
This set reads like a coloring book brought to life, with bold black outlines around a ghost hand, a spider-faced ghost, pumpkin-orange flowers, and layered daisy petals. Every nail tells a slightly different part of the same story.
Best For — anyone who loves detailed, illustrated nail art
Pro Tip — A fine black gel liner gives you crisper, more consistent outlines than regular polish, especially on curved nail beds.
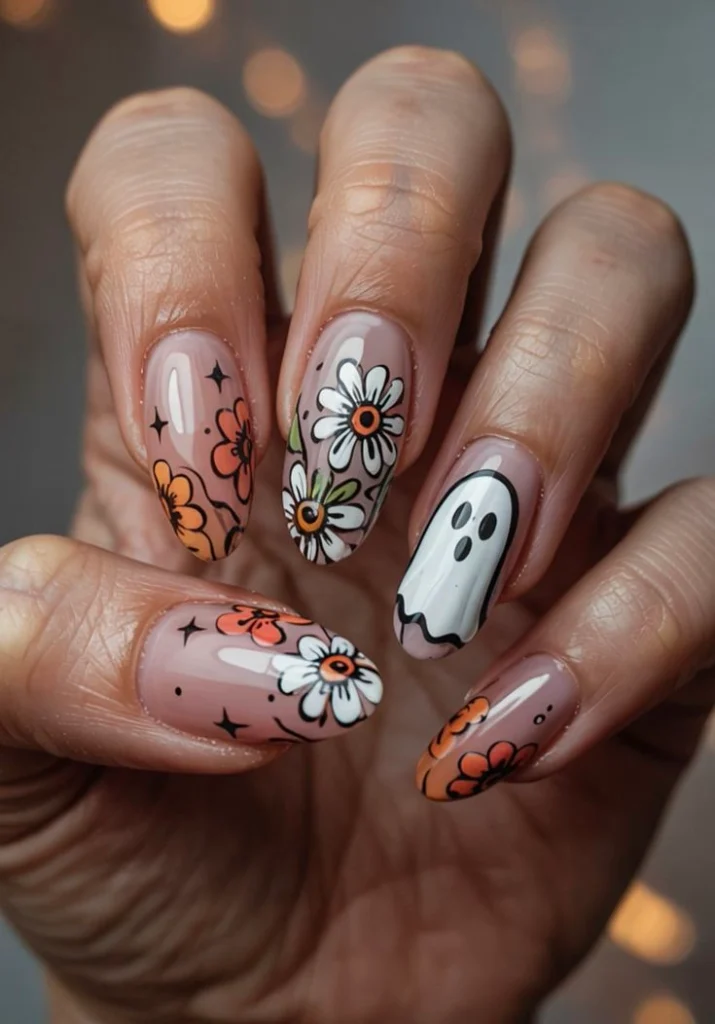
#14. Retro Daisy Ghost Nails
A dusty mauve-pink base carries oversized, retro-style daisies in cream and orange, with a melting ghost and a scatter of tiny stars rounding things out. It’s groovy, nostalgic, and endlessly Pinterest-friendly — our pick for best overall.
Best For — retro and groovy Halloween theme fans
Pro Tip — An acrylic nail art paint set gives you the fully opaque color these oversized daisies need in just one coat.
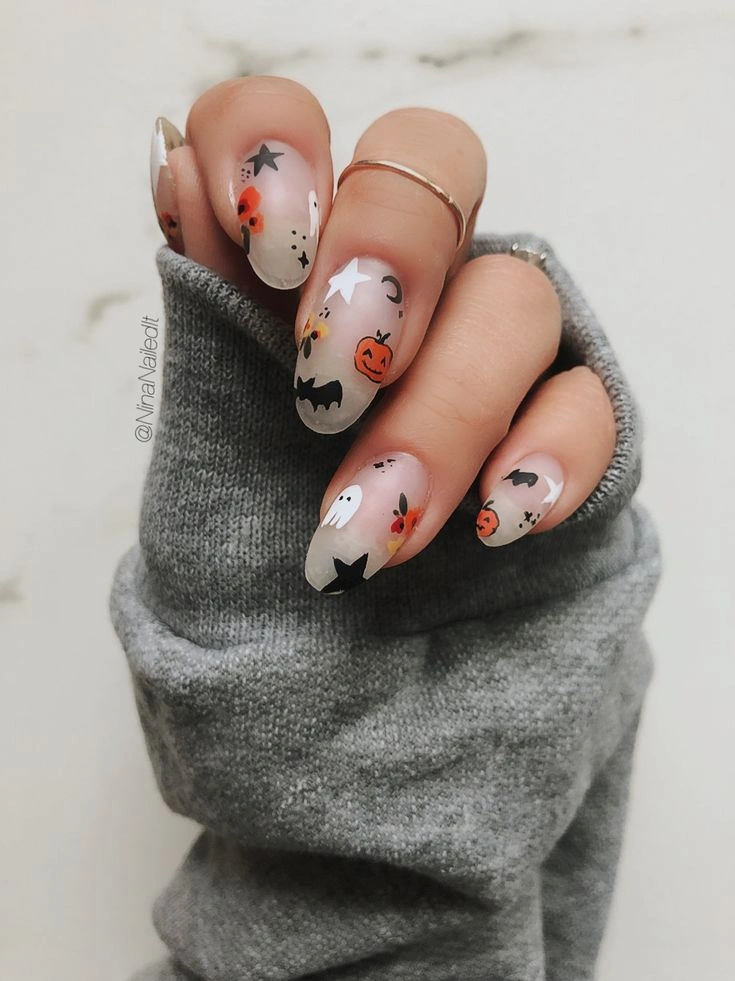
#15. Sheer Halloween Confetti Floral Nails
A sheer milky-white base is scattered with tiny bats, stars, pumpkins, and a wide-eyed ghost, mixed in with small orange and yellow flowers. It’s Halloween nail art at its most minimal and easy to wear anywhere.
Best For — minimalists who want just a hint of spooky
Pro Tip — Sketch out where each tiny icon will land before you start painting — random placement across ten nails can end up looking cluttered fast.
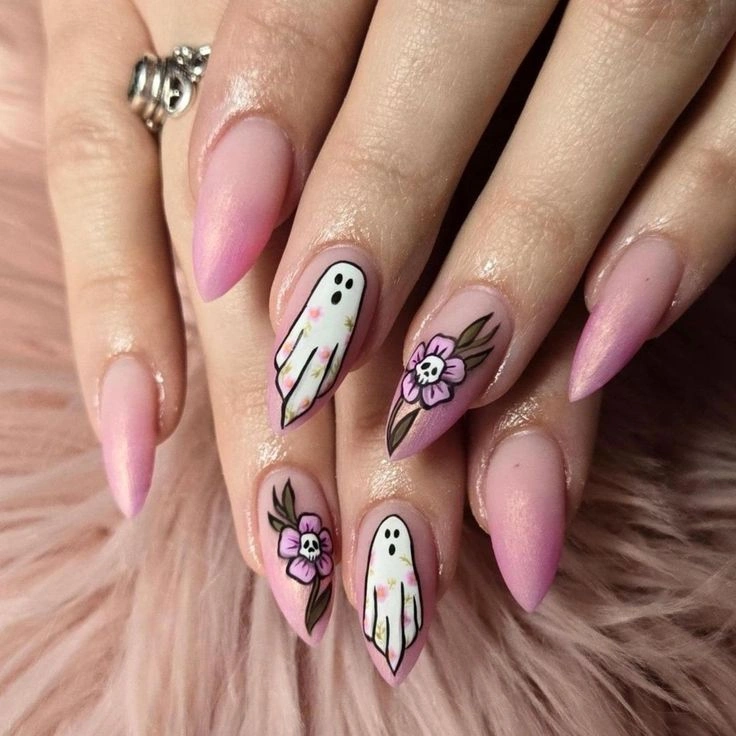
#16. Pink Stiletto Ghost and Floral Skull Nails
Long pink stiletto nails get a girly-spooky combo with friendly ghost accents dressed in tiny florals and a skull hidden inside a flower on another nail. The ombré pink base keeps the whole thing feeling soft.
Best For — dramatic stiletto-shape lovers
Pro Tip — File stiletto tips down gradually from both sides at once — filing straight into a point from one side alone weakens the tip and makes it prone to snapping.
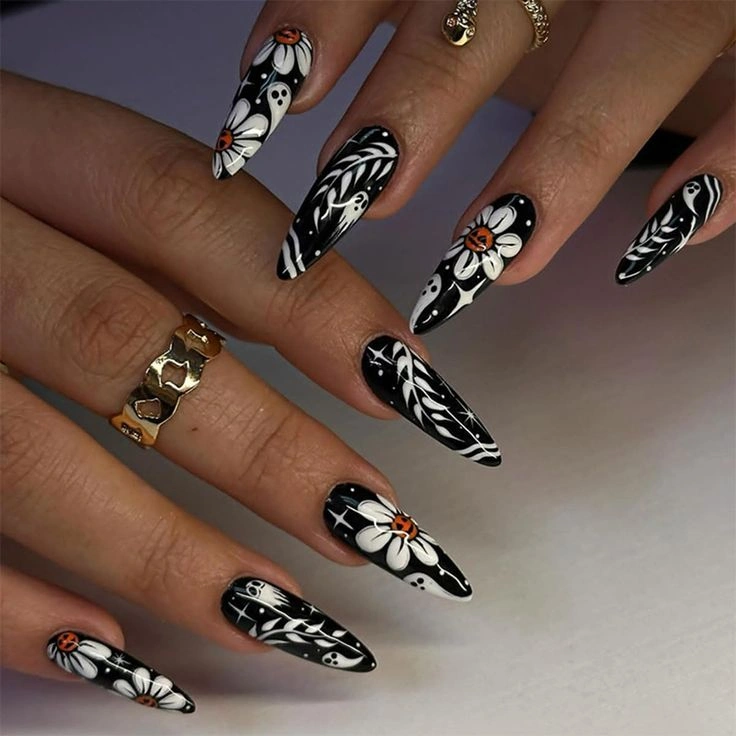
#17. Black and White Daisy Ghost Stiletto Nails
Glossy black stiletto nails are covered in oversized white daisies, some with tiny ghost faces hidden inside the petals, plus sparkle accents and delicate vine details. This is the boldest, most statement-making look on the list — and it’s everywhere on Pinterest right now.
Best For — anyone wanting a bold, long-length statement mani
Pro Tip — A gel top coat keeps this glossy black finish shining and chip-free for weeks, which matters on nails this long.
How to Choose the Right Nail Design
With this many gorgeous options, narrowing it down can feel harder than actually painting your nails. Here’s what to think about before you pick.
- Nail shape — Almond and oval shapes show off floral detail beautifully without much extra length. Stiletto and coffin shapes give you more canvas space, which is perfect for the busier designs like #13 or #17.
- Skin tone — Warm peach, orange, and mauve tones (like #1, #6, and #14) tend to glow against warmer undertones. Cool lavender, black, and burgundy shades (like #8 and #10) look striking against cooler undertones.
- Occasion — Save the more detailed, glam looks like #10 or #9 for parties and events. Keep the sheer, minimal designs like #15 or #11 in rotation for work and everyday wear.
- Skill level — If you’re newer to nail art, start with french tips and single accent nails like #1 or #6 before working up to full hand-painted scenes like #13.
What You’ll Need
None of these designs require a professional setup. Here’s everything that shows up again and again across the looks above.
For painting daisies, skulls, and ghost outlines with precision
Keeps french tips, gingham lines, and stripes crisp and even
For flower centers, skull eyes, and tiny confetti details
For that velvety matte black finish seen on several looks above
Adds shine and dimension to floral fills, like on #9
Locks in your hand-painted art and adds long-lasting shine
Pro Tips for a Long-Lasting Manicure
Prep before you paint
Push back cuticles, lightly buff the nail surface, and wipe with rubbing alcohol before your base coat. This removes oils that cause chipping within a day or two.
Thin coats beat thick ones
Two thin coats of polish dry faster and last longer than one thick coat. Thick polish stays gummy underneath and dents easily.
Seal the edges, not just the top
Swipe your top coat over the very tip of the nail, not just the surface. This “caps” the polish and is one of the biggest reasons salon manicures outlast at-home ones.
Clean up as you go
Keep a small brush dipped in acetone nearby to fix smudges immediately. Waiting until the end to clean up usually smears the design instead of fixing it.
Frequently Asked Questions
Q: How do I make Halloween nail art with flowers last longer?
A: Start with a clean, oil-free nail and finish with a proper top coat that seals the tip of the nail, not just the top. A gel top coat will noticeably outlast a regular one, especially on hand-painted designs.
Q: What nail shape works best for floral Halloween designs?
A: Almond and oval shapes give delicate florals like daisies and vines a natural, flattering canvas. If you want a bolder look with more room for detail, coffin or stiletto shapes work well too.
Q: Can I get these floral Halloween looks with press-on nails?
A: Yes — many of these designs, especially the more detailed ones like #10 and #13, are actually easier to achieve with pre-designed press-ons. A strong nail glue will keep them secure through a full night out.
Q: What tools do beginners need for Halloween floral nail art?
A: A fine detail brush, a dotting tool, and striping tape will cover almost every design on this list. Start with simple accent-nail looks like #1 or #6 before attempting a full hand-painted scene.
Recommended Product
Halloween Floral Nail Art Sticker Set
★★★★☆ Highly rated on Amazon
If freehand painting feels intimidating, a sheet of pre-made ghost and floral decals lets you recreate looks like #12 or #15 in minutes instead of hours.
As an Amazon Associate, we earn from qualifying purchases.
Final Thoughts
Halloween nails don’t have to choose between spooky and pretty — as you can see, the two go together beautifully. Whether you go for a single ghost accent nail or a full hand-painted floral scene, there’s a design above that fits your style and skill level.
Which of these nail looks are you trying first? Save this post to Pinterest so you can come back to it whenever you need fresh nail inspo!

Hi, I’m Jessica, the creator behind Unique Lash & Nails Katy.
I created this website for anyone who loves beautiful nails as much as I do. Here, I share trendy nail designs, seasonal manicure ideas, easy nail care tips, honest product recommendations, and step-by-step guides to help you create salon-worthy nails at home. Whether you’re looking for everyday inspiration or your next favorite nail trend, I hope you’ll find something you love.